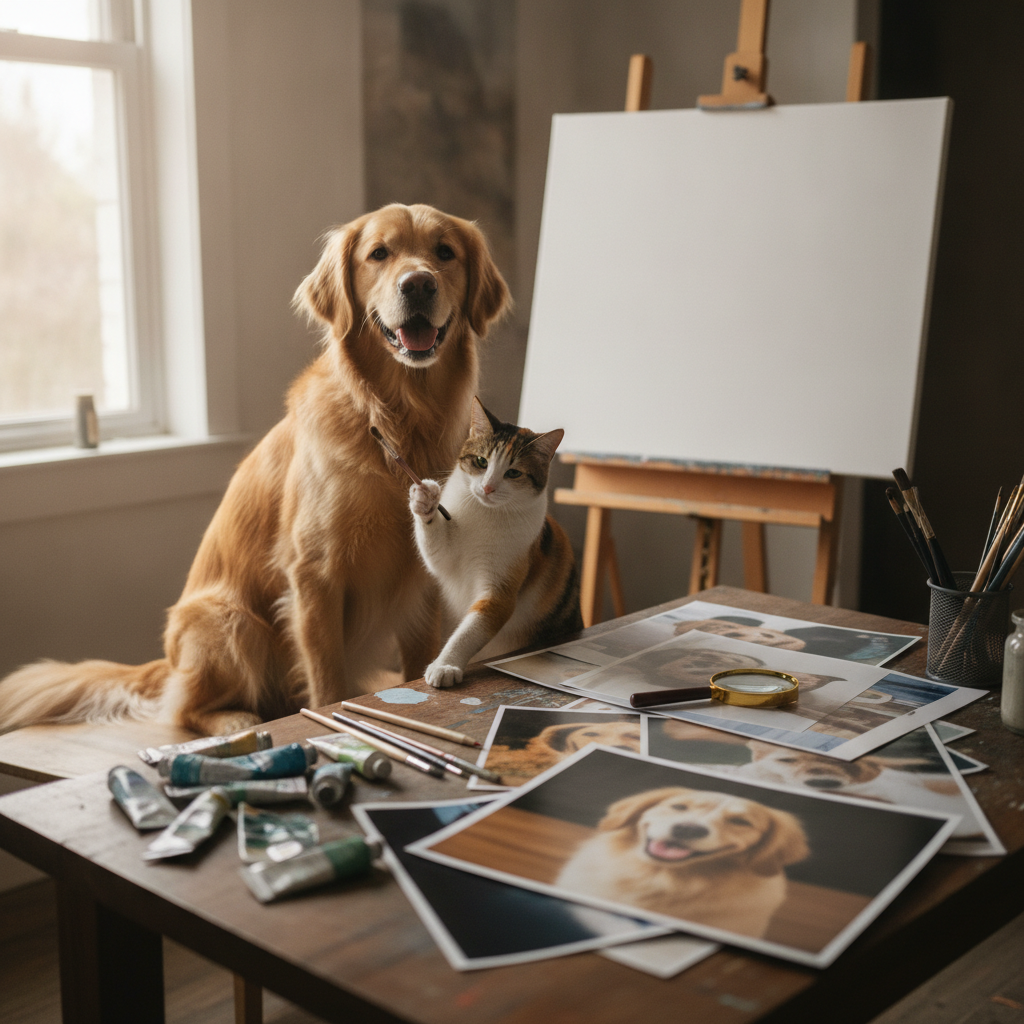
Why the Right Photo Matters
Here is the thing about pet photos: the one you love on your phone is almost never the one that makes a great portrait. You know the shot — your dog mid-zoomie, ears flying, pure joy. It is a keeper for your camera roll, but it will not hang well. The photo everyone gets wrong is the one with terrible light, a cluttered background, or your pet looking anywhere but the camera. Those details do not ruin a snapshot, but they absolutely ruin a portrait.
The difference between a photo that works and one that does not comes down to a few things you can control: light, background, focus, and whether your pet looks like themselves. Good light does most of the work — soft, warm, and a little dramatic beats a flash every time. The background should let the photo breathe, not compete for attention. And the expression? That is the part people skip. You want the one you keep coming back to, the shot that actually works because it captures who they are.
A portrait worth framing starts with a photo worth painting. You do not need a studio or fancy gear — just a phone, decent light, and a pet who will sit still for three seconds. By the end of this guide, you will know exactly which photo of your pet to use, and which three to skip. Trust me on this: the little details that sell a portrait are easier to get right than you think, and it does not have to be perfect to be worth hanging.
Whether you are commissioning a Renaissance-style portrait or something softer and more modern, the photo you choose sets the tone for everything that follows. Let me show you how to pick the right one.
Learn how to choose the best photo for pet portrait creation and make your furry friend's likeness a work of art.
What Makes a Photo Good Enough for a Pet Portrait?
Here is the thing: not every photo on your phone will work. The one that makes you smile when you scroll past it — the one where your dog looks exactly like himself — might be blurry, backlit, or cropped so tight you can only see one ear. That does not mean it is a bad photo. It just means it is not the right photo for a portrait.
A good portrait photo does three things. It shows your pet clearly. It captures their personality. And it gives the artist enough detail to work with. Miss any one of those and you are guessing.
Pet Portrait Photo Requirements: The Non-Negotiables
Your photo needs to be sharp, well-lit, and in focus — especially around the eyes. Natural light does most of the work here. If the eyes are sharp and completely visible, you are halfway there. If they are hidden, squinting, or lost in shadow, the portrait will feel like a stranger.
Send the highest resolution your phone or camera offers. That means the original file, not a screenshot or something you pulled off social media. Screenshots compress the image and strip out detail. The artist needs every pixel you have got.
Blurry photos do not convert well. Neither do photos where your pet is backlit or half in shadow. If you can see their face clearly and their expression reads, you are in good shape. If you are squinting to make out their features, so will the artist.
What the Photo Needs to Show
The photo should show your pet at their eye level, not from above or below unless that angle is the whole point. Straight-on or slightly angled works for most portraits. Too much tilt and the proportions go sideways.
Keep the background simple. A busy background does not ruin a photo, but it does make it harder to isolate your pet. Plain walls, grass, or soft bokeh — anything that lets your pet be the subject — will make the artist's job easier and the final portrait cleaner.
Expression matters more than pose. The shot where your dog is sitting perfectly but looking bored will never beat the one where they are slightly off-center but their personality is all over their face. You will know it when you see it. That is the one you keep coming back to.
For more on how different portrait styles handle these details, see Renaissance and Classical Pet Portraits: Your Pet as Old-Master Art.
Why Choosing the Best Photo is Crucial
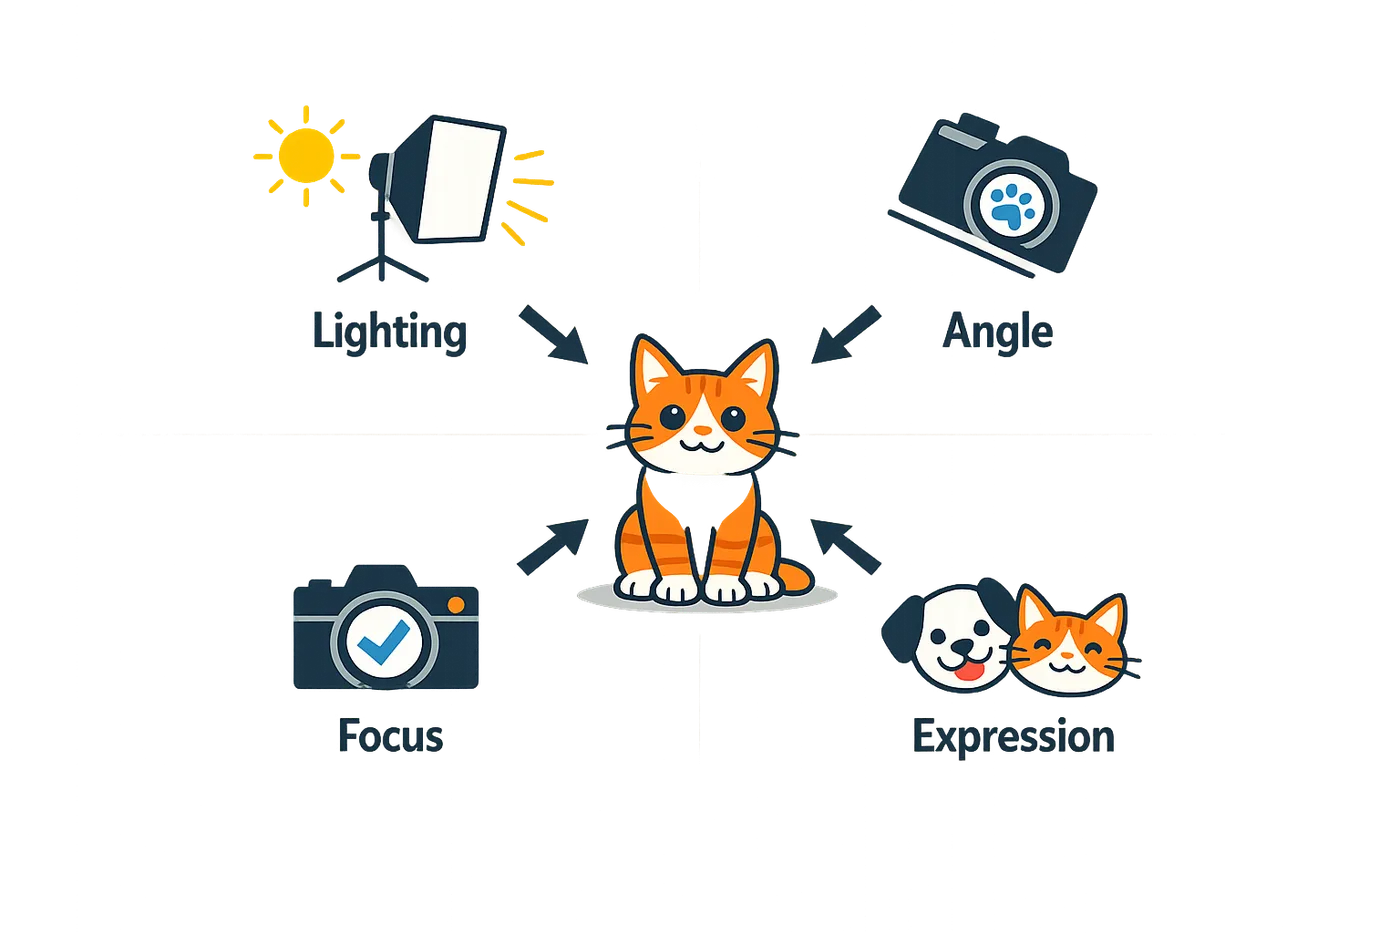
The photo you choose is not a starting suggestion — it is the blueprint. Everything the artist sees in that image, from the curve of an ear to the light in your pet's eyes, becomes the portrait. If the photo is blurry, backlit, or cropped so tight you lose context, the portrait will carry those same problems forward, no matter how skilled the artist.
Here is the thing: a great portrait does not fix a bad photo. It translates it. The brilliance and level of detail in the final portrait will depend on the quality of the reference photos provided. A sharp, well-lit image gives the artist real information to work with — fur texture, eye color, the shape of the face when your dog is relaxed. A dim or pixelated shot forces them to guess, and guessing never looks like your pet.
The Eyes Do Most of the Work
Your pet's eyes are what make the portrait feel like them. The reflections and light in their eyes can enhance the emotional depth of the artwork — that little catch-light that says "awake and present" versus a flat, dull stare. If the eyes are in shadow, half-closed, or out of focus, the portrait loses the one thing that makes people stop and say, "That is her."
This is the part people skip: they pick the photo where their dog looks cute, not the one where you can actually see into his eyes. Cute helps, but clarity wins.
Detail Anchors the Whole Portrait
A high enough quality photo lets the artist zoom in and see the actual strands of hair, fur patterns, and whiskers. Those tiny details — the way the fur changes direction around the muzzle, the stipple of color in a tabby's coat — are what separate a portrait that looks painted from one that looks like your actual cat. Low resolution flattens all of that into smudges.
You do not need a professional camera, but you do need a photo that holds up when you look closely. If you would not print it at eight by ten and hang it, it probably will not translate well to a portrait either.
For more guidance on how different portrait styles handle detail and expression, see Renaissance and Classical Pet Portraits: Your Pet as Old-Master Art.
How to Identify the Best Photo for Your Pet Portrait
Here is the thing: you probably already have the right photo on your phone. You just need to know what to look for. The photo that makes you smile every time you scroll past it is often the one that will convert into a portrait worth hanging — but only if it meets a few technical and emotional criteria.
Start with the Photos You Keep Coming Back To
Pull up your camera roll and look for the shots you save, share, or show people when they ask about your pet. Those photos capture something real — a look, a pose, a moment that feels like them. That emotional pull is half the battle. The other half is making sure the photo can actually do the job.
Check Focus, Light, and Contrast
The photo needs to be sharp. If their face is blurry or the image is grainy when you zoom in, it will not hold up as a portrait. Good light does most of the work here — natural light from a window or soft outdoor light gives you clean detail and a range of tones from light to dark. That contrast is what makes features readable and gives the portrait depth.
Ask yourself: can you see their eyes clearly? Are the colors true, or is everything washed out or too shadowy? If the answer is yes to the first and no to the second, you are in good shape.
Step 1
Evaluate sharpness and resolution
Zoom in on the face. If the eyes, nose, and fur texture stay crisp, the photo has enough detail. If it pixelates or blurs, keep looking.
Step 2
Assess lighting and contrast
Look for a good range of shades — not flat or blown out. The photo should show dimension, with enough contrast between light and dark areas to define features.
Step 3
Confirm the pose and expression
Choose a photo that captures a characteristic look or posture. The one where they are being themselves — alert, playful, regal, whatever fits — is the one that will feel right on the wall.
Consider the Portrait Size and Detail You Want
Larger portraits let you show more detail, but they also demand higher-quality source photos. If your reference image is lower resolution, a smaller portrait size will work better — the artist or process has less area to fill, so imperfections are less obvious. Match the ambition of the portrait to the quality of the photo, and you will avoid disappointment.
For more guidance on choosing the right style to match your pet's personality, see Turn Your Pet Photo Into Art: Every Style Explained.
Trust the Photo That Feels Like Them
At the end of the day, the best photo is the one that makes you think, "That is exactly who they are." Technical quality matters, but so does the intangible thing that makes a portrait feel like more than just a picture. If the photo has good light, sharp focus, and the look you want to remember, it is the right one.
Best Practices for Capturing Pet Portrait Photos
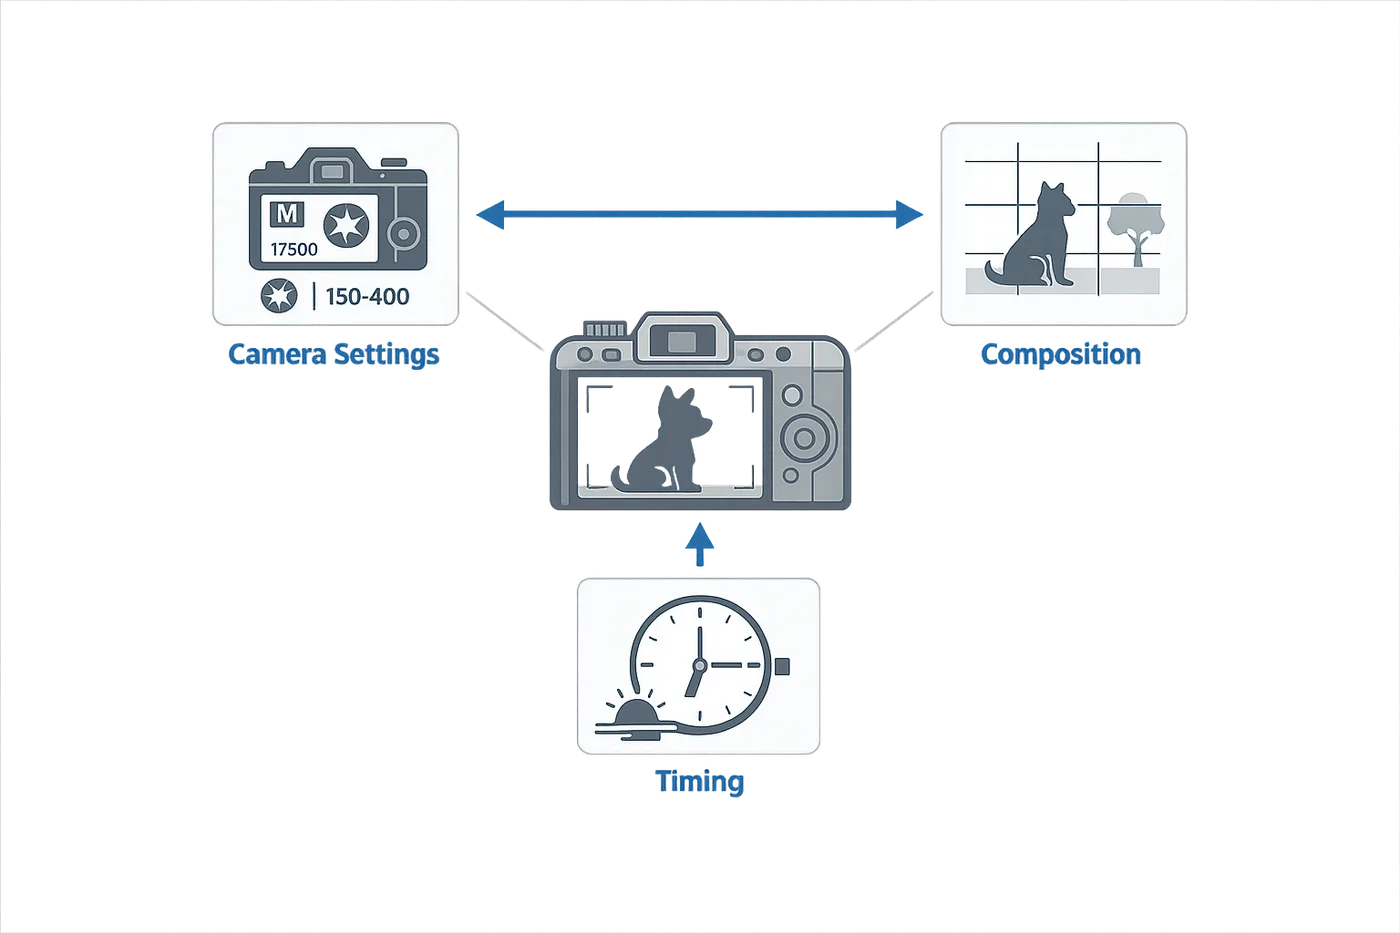
You do not need a fancy camera or a studio setup to get a photo worth hanging. Good light does most of the work, and the rest is about getting on their level and letting the photo breathe. Here is what actually makes a difference.
Shoot in Natural Light
Natural light is your best friend. It avoids the color distortion and harsh shadows you get from overhead bulbs or flash. Overcast days give you soft, even light that flatters every coat color and texture. On sunny days, you can still get great shots — just watch for strong contrast between light and shadow, which can add drama if you manage it right.
The golden hour — that stretch about an hour after sunrise or an hour before sunset — is a favorite for a reason. The light is warm, low, and forgiving. If you can get outside during that window, do it.
Get Down to Their Eye Level
This is the part people skip. Shooting from above creates awkward angles and makes your pet look small or distorted. Get down on the floor, crouch, or sit — whatever it takes to meet them at their eye level. That shift alone makes the portrait feel like them, not just a snapshot of them.
Use the Highest Resolution Your Phone or Camera Allows
A better photo quality leads to a better portrait. High-definition digital photos capture the details that make a portrait worth framing — the strands of hair, the fur patterns, the whiskers. Set your phone or camera to the highest resolution, and always send the original file, not a screenshot or a compressed version from a text thread.
Take Photos Outside
Indoor lighting is tricky. Even if your house has big windows, outdoor light is cleaner and more predictable. Take your pet outside, preferably on a cloudy day or during the golden hour. You will get better color, better contrast, and a clearer sense of their expression.
Get Close and Fill the Frame
The shot that actually works is usually the one where you got close enough to see their face clearly. Do not leave too much empty space around them — let them fill the frame. You want to see their eyes, their expression, the little details that sell it. If you are too far back, you lose all of that.
Good light does most of the work — the rest is about getting on their level and letting the photo breathe.
Take Lots of Photos
You will know it when you see it, but you have to give yourself options. Pets move, they blink, they look away. Take twenty shots to get the one you keep coming back to. That is normal. The photo everyone gets wrong is the one they tried to force in a single take.
For more ideas on how to turn your pet photo into art, explore the different portrait styles that suit different personalities and breeds.
Common Mistakes to Avoid When Choosing a Photo
Here is the thing about choosing a photo for your pet: the mistakes people make are not random. They are the same three or four things, over and over, and they all come from the same place — picking the photo you love instead of the photo that will actually work. Let me walk you through what to skip.
Cropping Off Toes, Tails, or Ears
This is the photo everyone gets wrong. You zoom in tight on your dog's face because that is where the expression lives, and you accidentally cut off an ear or a paw. It feels fine on your phone, but when that photo gets painted, the missing piece becomes obvious — and it looks like a mistake, not a choice.
Good light does most of the work, but framing does the rest. Keep them in the room. Give the photo a little breathing space around your pet, and let the artist decide where to crop. If you send a photo where the tail is already gone, the artist cannot put it back.
Choosing Low Resolution or Blurry Shots
You will know it when you see it — the photo that captures exactly the look you want, but it is blurry or pixelated when you zoom in. That is a hard one, because the expression is right, but the image quality is not there. A skilled artist can work with imperfect photos by focusing on expression and posture rather than pixel-perfect detail, but there is a limit. If the photo is so soft that you cannot make out individual whiskers or the shape of the eyes, it is going to be a struggle.
The shot that actually works is the one where you can see the details clearly when you zoom in on your phone. If it looks sharp at full size, it will paint well. If it does not, it will not.
Picking Photos with Harsh Shadows or Poor Lighting
This is the part people skip: checking the light. You have a great photo of your cat mid-leap, or your dog looking right at you, but half their face is in shadow or the overhead light has turned their nose into a hot spot. Shadows and harsh light flatten the features you are trying to celebrate, and they make it harder to see the shape of the face, the color of the fur, or the warmth in the eyes.
Soft, warm, and a little dramatic — that is the light that translates. Natural light from a window, golden hour outside, or even an overcast day will give you better results than a bright overhead bulb. If the lighting in the photo feels off to you, it will feel off in the portrait too.
Ignoring the Background and Distractions
The background does not have to be perfect, but it should not compete with your pet. If there is a person's leg in the corner, a bright toy on the floor, or a busy pattern on the couch, that is all going to show up in the frame — and it is going to pull focus. The little details that sell a portrait are the ones that keep your eye on your pet, not on what is happening behind them.
When you are choosing between two photos, pick the one with the cleaner, simpler background. Let the photo breathe. You want the portrait to feel like them, not like a snapshot of a cluttered afternoon.
Sending Multiple Photos Without Guidance
If you send five photos and say "use whichever one you think is best," you are handing the artist a decision you should make. They do not know which photo you keep coming back to, or which expression feels most like your pet. The one you love on your phone is almost never obvious to someone else.
Pick one photo. If you genuinely cannot decide between two, send both and explain why each one matters to you. But do not send a folder and hope the artist picks the right one — that is your call, and it is worth getting right.
Frequently asked questions
Can I use a photo taken on my phone?
Yes — phone photos work perfectly as long as the image is clear and well-lit. The camera does not matter; good light does most of the work. Make sure your pet is in focus, the face is sharp, and you are shooting at their eye level. A phone photo taken in natural light will beat a blurry professional shot every time.
How many photos should I send?
Send at least five or six photos showing different angles, expressions, and lighting. Include close-ups of the face, full body shots, and a few candid moments that capture personality. The more variety you provide, the easier it is to choose the one that actually works. Videos help too — they show how your pet moves and holds their head, which can guide the final composition.
What if the only good photo I have is slightly blurry?
A slightly soft photo can still work if the face is recognizable and the expression is strong. The key is whether you can see the eyes clearly and the features are defined enough to paint from. If the blur is heavy or the face is out of focus, it will not convert well — no amount of editing can invent detail that is not there. When in doubt, pair it with sharper reference photos of the same pet.
Does the background in my photo matter?
Not as much as you think. A messy or distracting background can be replaced or softened in the portrait, so focus on the pet first. That said, a clean or neutral background makes the whole image easier to work with and keeps the attention where it belongs. If you are choosing between two similar photos, the one with less clutter wins.
Can I combine elements from multiple photos?
Yes, but it works best when the photos are taken in similar lighting and from similar angles. You can pull the expression from one photo and the pose from another, as long as both are clear and well-lit. Mixing drastically different lighting or perspectives usually looks off — the portrait will feel like it is fighting itself. Stick to photos that already feel like they belong together.
What if my pet never sits still for a good photo?
Capture them doing what they love — playing, resting, or just being themselves. The photo everyone gets wrong is the forced, stiff pose. A candid shot in good light will always feel more like them than a staged one. Shoot in short bursts, use natural light, and let them move. You will know it when you see it — the one you keep coming back to is usually the right one.
If you are still deciding which portrait style suits your pet best, turn your pet photo into art with every style explained to see how different approaches handle the same image.
Final Thoughts on Choosing the Best Photo for Pet Portraits
Here is the thing: the photo you choose is the portrait you get. Not sort of, not mostly — exactly. A sharp, well-lit photo with good eye contact gives you a portrait worth hanging. A blurry phone snap with half their face in shadow gives you a blurry painting with half their face in shadow. The camera does not fix what the photo does not have.
You do not need a studio or a professional setup. You need good light, a clear view of their face, and the shot that actually feels like them. The one you keep coming back to — that is usually the right one. Trust me on this: if you are torn between two photos, pick the one where you can see their eyes clearly and the light is doing most of the work. That is the photo everyone gets wrong, and it is the easiest fix.
If you are ready to turn that favorite photo into something you will actually hang, take a minute to browse every portrait style explained and see which era suits your pet best. Renaissance, Victorian, or something softer — the style you choose changes the whole feel, so pick the one that makes it feel like them.
The little details that sell it — sharp focus, natural expression, a background that does not fight for attention — those are the things that separate a portrait worth framing from one that sits in a drawer. You will know it when you see it. Keep them in the room with you, and choose the photo that does that.