
Introduction
Here is the thing about Photo to Canvas: it takes the photo you keep coming back to on your phone and turns it into something you can hang at eye level in your home. The texture of the fabric gives it a painterly look, but no paint is involved in the process. Your image is printed directly onto canvas, stretched, and ready to go — no glass, no heavy frame, just the photo and the texture working together.
I have spent years helping people figure out which photos make great portraits and which ones fall flat on the wall. The difference is not always obvious when you are scrolling through your camera roll. A photo that looks perfect on your screen might need better light, tighter cropping, or a different subject altogether to work as canvas art. Trust me on this: good light does most of the work, and the rest is knowing what to look for before you commit.
Canvas prints are lightweight and arrive ready to hang, which is part of their appeal. No studio required, no complicated framing decisions — just pick the shot that actually works, send it in, and you get back something that feels like them. Whether it is your dog, a family moment, or a landscape you want to keep in the room, turning your pet into a masterpiece follows the same principles: start with a photo worth framing, and let the canvas texture do the rest.
By the end of this, you will know exactly how the process works, what makes a canvas print look expensive versus cheap, and how to display it so it actually belongs on your wall. This is the part people skip, and it shows — so let's get it right.
Understanding Photo to Canvas
Here is the thing about Photo to Canvas: it is not a painting, but it looks like one. The texture of the fabric gives it a painterly look, but no paint is involved in the process — just your photo, printed directly onto canvas material and stretched over a wooden frame. What you get is something that feels like art, not a glossy snapshot under glass.
The difference shows up the second you hang it. Canvas prints have a naturally softer, more painterly look than glossy photo prints, which makes them fit right into home interiors without screaming "this is just a photo." That soft, matte finish catches light differently — warm, not reflective — and the visible texture of the weave adds depth. It is the reason people choose canvas when they want something that actually looks worth hanging.
Why Canvas Works
Canvas photos have visible texture and do not require glass for protection, making them lightweight and ready to hang upon arrival. No framing appointments, no extra hardware to figure out — the frame is built in, and most come with hanging hardware already attached. You open the box, find a wall, and you are done.
That texture is doing real work, too. It hides minor imperfections in the photo — a little grain, slightly soft focus — better than a high-gloss print would. The weave breaks up the image just enough to make it feel handmade, even when it is not. If you have ever looked at a photo print and thought "this feels too sharp, too digital," canvas fixes that.
Popular Styles for Photo to Canvas
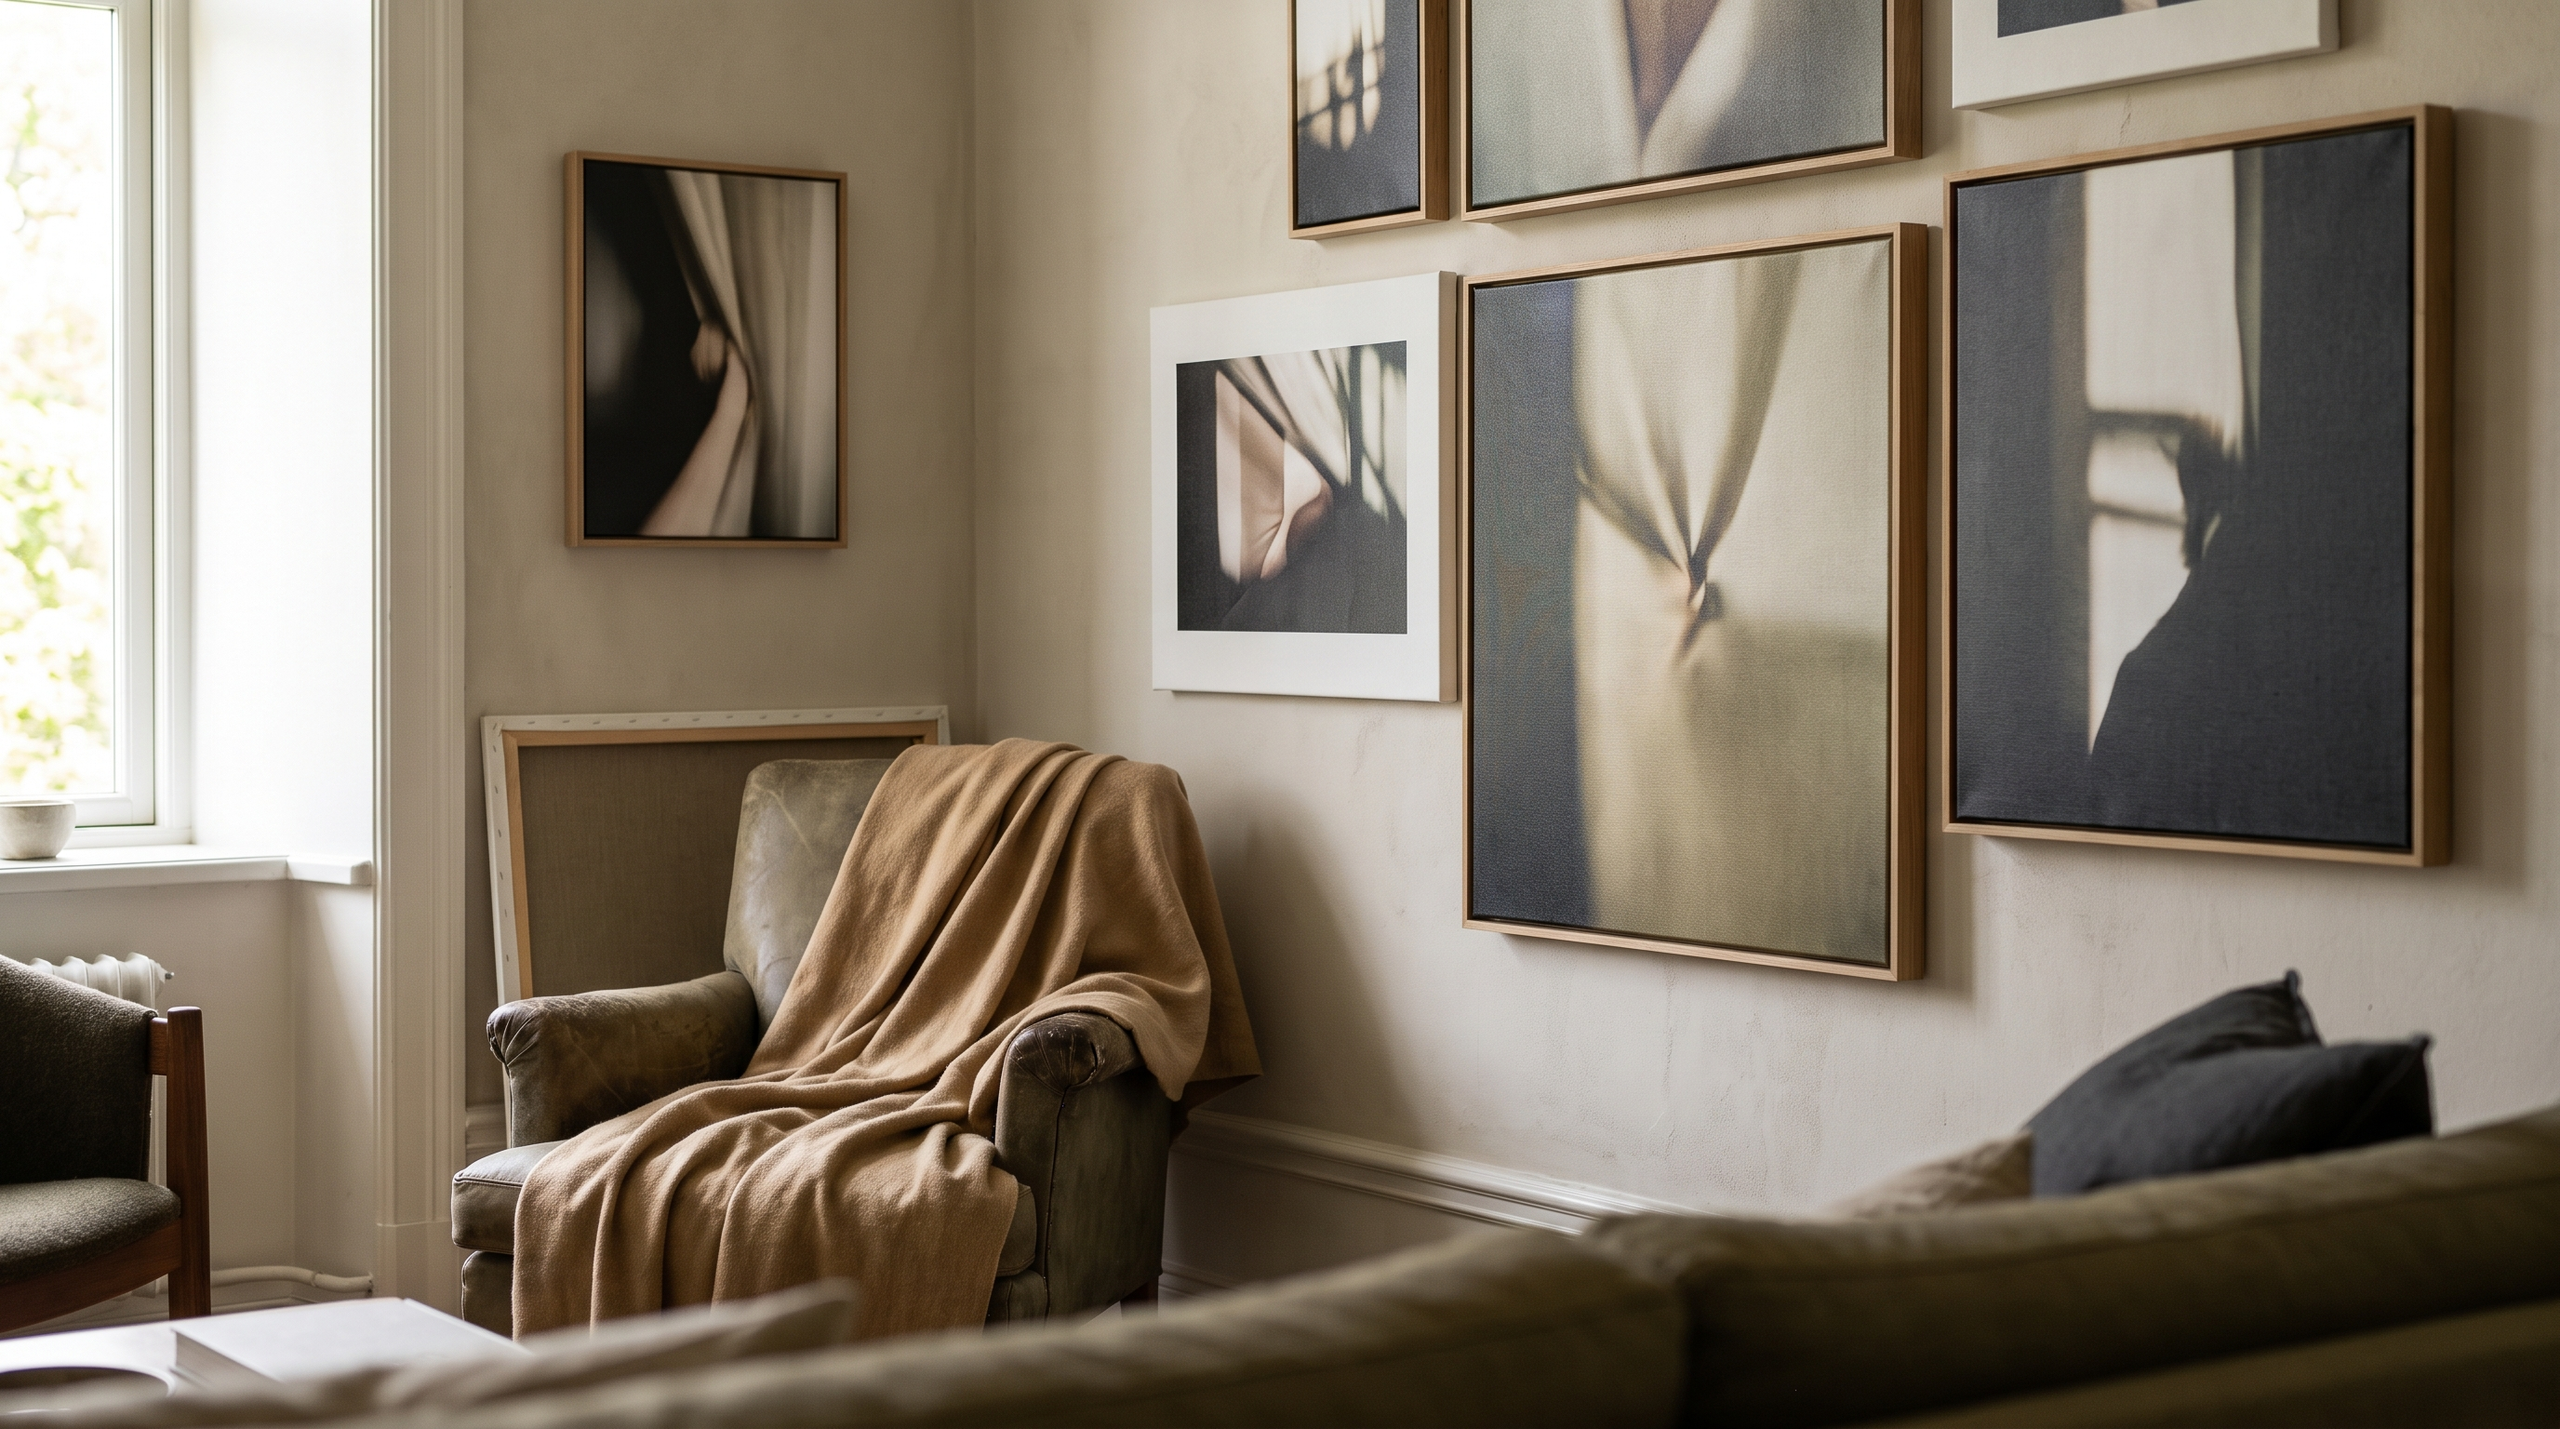
Most people go one of three ways: single large statement pieces, gallery walls with multiple smaller canvases, or triptychs that split one image across three panels. The single large canvas — 24×36 or bigger — works when you have one photo that can carry a room. Think: a landscape, a close-up portrait with good light, or a pet portrait that already feels like art.
Gallery walls let you mix sizes and subjects without a unifying frame style, which is part of the appeal. Three or five canvases in different dimensions, all hung together, create visual interest without needing to match. Triptychs are the move when you want drama — one wide photo split into three vertical panels, hung with a small gap between them. It works best with horizons, cityscapes, or anything with a strong horizontal line.
The era you choose matters less than the photo itself. Canvas flatters almost any subject, but it does the most for images that already have good light and a clear focal point. If the photo works on your phone, it will work on canvas. If it does not — if the lighting is flat or the subject is lost in the background — canvas will not fix it. It will just make it bigger.
The Canvas Printing Process
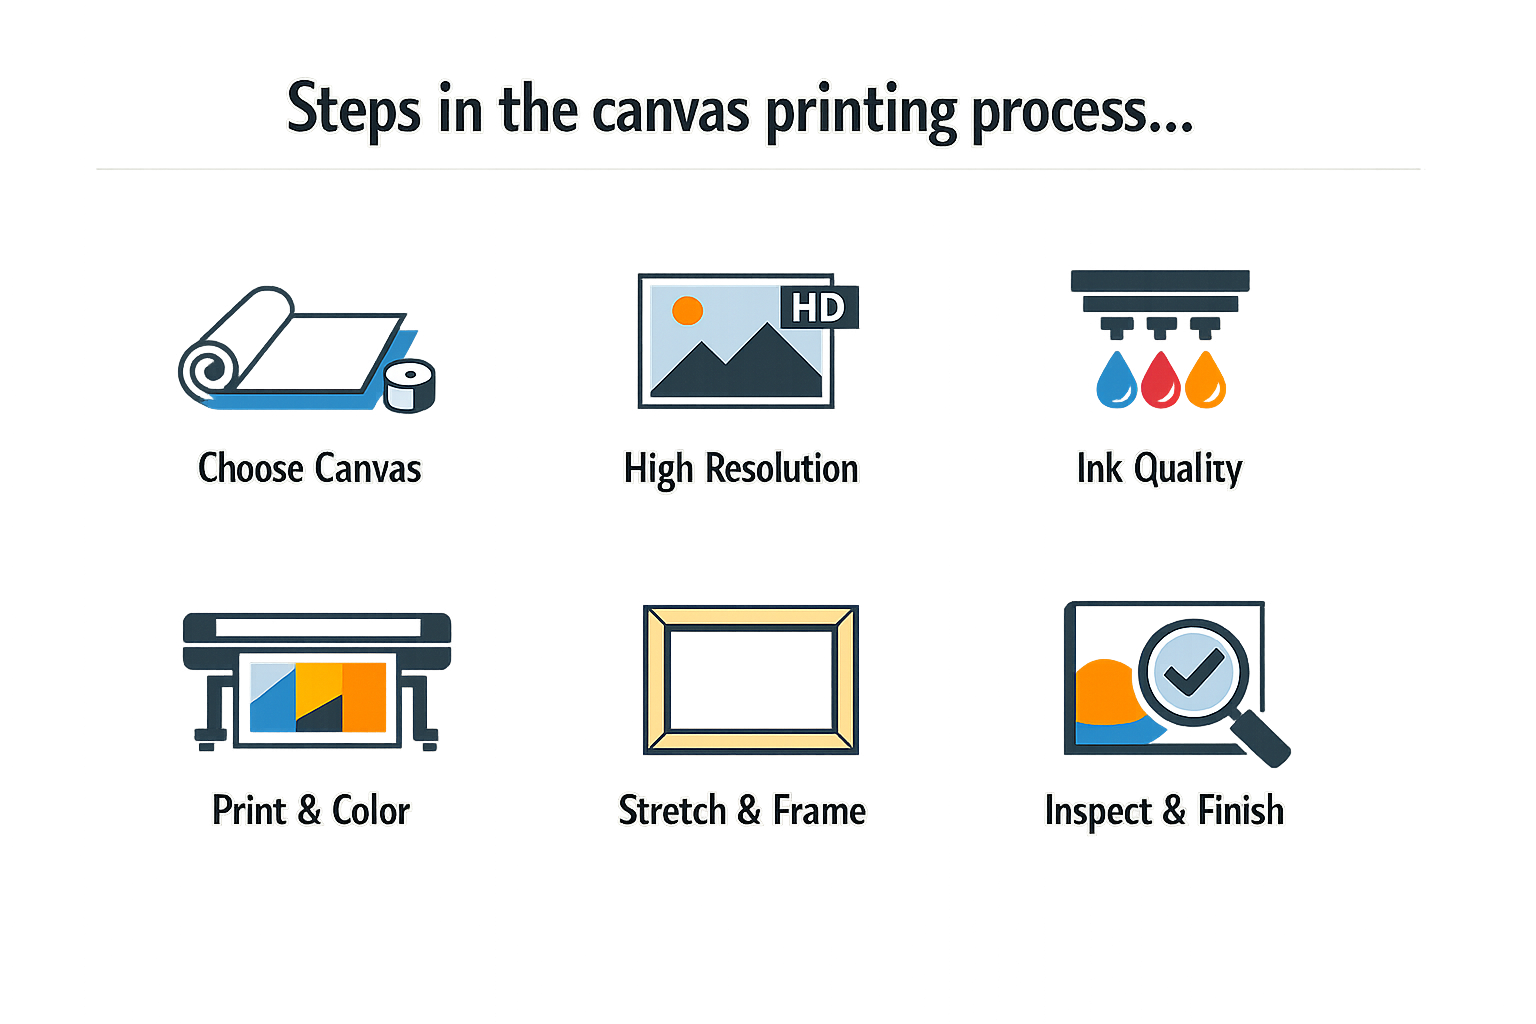
Here is the thing about turning a photo into canvas: the quality of your final piece depends on what happens before you ever place the order. Most people skip the prep work and wonder why their canvas looks soft or pixelated when it arrives. The printing process itself is straightforward — but getting your photo ready is where the real work happens.
The canvas printing process has four main stages: file preparation, resolution check, printing, and finishing. Each one matters, and each one is easier than you think.
Getting Your Photo Ready
Start by looking at your source file. If it came from your phone, check the resolution — you want the largest version you have, not a screenshot or a compressed copy from a text message. Open the file on your computer and look at the pixel dimensions. A good rule: bigger is always better at this stage.
If your photo looks grainy or has compression artifacts — those blocky patches you sometimes see in low-light phone photos — clean them up before you upload. You do not need expensive software for this. AI upscaling tools can close the pixel gap and smooth out noise, producing better results than simple resizing. The difference shows up most on faces and fine details like fur texture.
The Four-Step Workflow
This is the part people skip, and it is the part that makes a canvas worth hanging:
Step 1
Assess your source file
Check the pixel dimensions and file format. Look for the highest-resolution version you have — the one straight from the camera or phone, not a cropped or edited copy unless that is your only option.
Step 2
Remove noise and compression artifacts
Use a basic photo editor or an AI tool to smooth out grain, especially in shadows and solid-color areas. This step takes two minutes and prevents a muddy-looking canvas.
Step 3
Upscale with AI if needed
If your file is too small for the canvas size you want, upscale it before ordering. AI upscaling fills in the missing detail without making the image look stretched or blurry.
Step 4
Export at maximum quality
Save your final file as a high-quality JPEG or PNG. Do not compress it further — let the printer handle that part.
Once your file is ready, the actual printing is fast. The image gets transferred onto canvas using inkjet printers designed for archival-quality output. The canvas itself is usually cotton or a cotton-polyester blend, stretched over a wooden frame. You do not need to worry about the mechanics — but you do need to trust that your photo can handle being blown up to wall size.
Choosing the Right Canvas Size
The size you choose changes how much detail you need in your photo. A large canvas — say, 30 by 40 inches — can get away with 150 DPI if it is going to hang across the room. A smaller canvas that someone will see up close needs more pixels to stay sharp. If you are turning a dog portrait into gallery-ready art, think about where it will hang and how close people will get to it.
The photo you love on your phone is almost never the one that makes a great canvas — but the one you keep coming back to usually is.
Trust me on this: good light does most of the work. A well-lit photo with decent resolution will always beat a perfectly sharp photo taken in bad light. The canvas printing process can handle a lot, but it cannot fix a photo that was dark or backlit to begin with.
Displaying Your Canvas Art
You ordered the canvas. It arrived. Now what? This is the part people skip — they lean it against a wall for six months or hang it crooked in the wrong room. Here is the thing: where you put it and how you treat it changes whether it looks like something you bought at a craft fair or something worth hanging.
Where to Hang Your Canvas
Put it at eye level. That means the center of the canvas sits roughly 57 to 60 inches from the floor — the height most galleries use. If you hang it too high, it floats. Too low, and it feels like an afterthought. Stand back and check it from the doorway. You will know it when you see it.
Light matters more than you think. Good light does most of the work. Avoid direct sunlight — it fades the print over time. Soft, warm, and a little dramatic works best. A wall with indirect natural light or a well-placed lamp keeps the colors true and the texture visible.
Framing Options (or Not)
Most canvas prints come gallery-wrapped, which means the image wraps around the edges and the whole thing is ready to hang as-is. No frame required. That clean, modern look works in most rooms — you do not need to overthink it.
If you want a frame, go simple. A thin floating frame in black, white, or natural wood keeps the focus on the photo. Ornate frames compete with the canvas texture and usually lose. Let the photo breathe.
Care and Maintenance
Canvas is durable, but it is not indestructible. Dust it gently with a soft, dry cloth every few months. Do not spray anything on it — no glass cleaner, no water, nothing. The ink sits on the surface, and moisture can smudge or streak it.
Keep it away from steam, humidity, and heat vents. Bathrooms and kitchens are risky. A bedroom, living room, or hallway with stable temperature and low moisture is ideal. Treat it like you would any piece of art you care about, and it will last.
The little details that sell it: clean edges, straight hang, and a room that keeps them safe.
Grouping and Gallery Walls
One large canvas makes a statement. Multiple smaller canvases tell a story. If you are building a gallery wall, plan the layout on the floor first. Keep the spacing consistent — two to three inches between frames is standard. Mix sizes if you want, but keep the frames or edge styles uniform so the wall feels intentional, not random.
For dog canvas prints, grouping works especially well when you have a series — different angles, different moods, or a timeline of your pet growing up. The repetition creates rhythm, and the canvas texture ties it all together.
Conclusion: Elevate Your Space with Canvas Art
Here is the thing about turning a photo into canvas: it changes how you see the image. That shot you love on your phone becomes something you walk past every day — something that keeps your pet, your person, or your favorite moment in the room with you. The texture of the fabric gives it a painterly look, but no paint is involved in the process. It just feels more permanent, more intentional, more worth hanging.
Canvas prints arrive ready to hang, no glass required, and the visible texture adds depth that flat prints cannot match. They are lightweight, durable, and they let the photo breathe in a way that feels less like decor and more like something that belongs. Whether you are filling a gallery wall or giving one piece the spotlight it deserves, canvas makes the photo feel like art — not just a picture you printed.
The best part? You do not need a professional photographer or a perfect shot. You just need the one you keep coming back to — the photo that actually feels like them. Start there, and trust me on this: once it is on your wall, you will know you got it right.
If you are looking for more ways to turn your favorite photos into wall art, check out our guide on Dog Canvas Prints: Turn Your Photos Into Gallery-Ready Art for tips on choosing and displaying pet portraits that look gallery-ready.
Learn how to turn your cherished photos into beautiful canvas wall art with this comprehensive guide on the process and display tips.