
Introduction
Here is the thing about pet gallery walls with pet portraits: they are one of the few ways to make your home feel like yours without spending a fortune or hiring a designer. You take the photos you already love — the ones you keep coming back to on your phone — and you give them a place in the room. Not tucked away in an album. Not lost in the camera roll. On the wall, at eye level, where they belong.
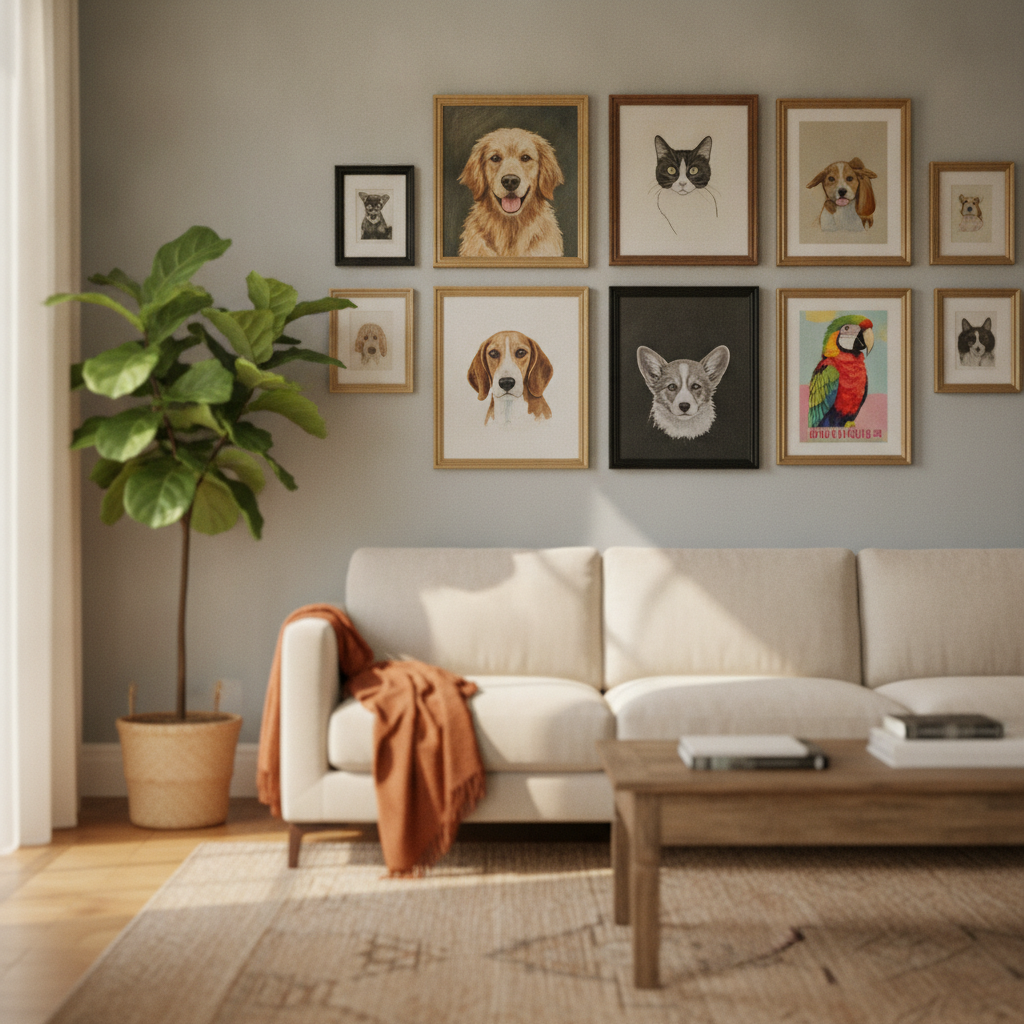
The trick is knowing which photos to use and how to arrange them so the wall does not look like a mess. A good gallery wall has rhythm. It mixes sizes, frames, and styles without feeling chaotic. You want variety, but you also want the whole thing to hold together when you step back and look at it.
Arranging a pet gallery wall can be a delightful way to showcase your furry friends. When planning your layout, consider mixing different portrait styles to add depth and interest. A Renaissance-style portrait with its dramatic lighting can highlight the soulful eyes of your dog, creating a captivating focal point. Pair it with a watercolor portrait to balance the mood and keep the display lively.
Your pet gallery wall should be a reflection of your pets' personalities and the joy they bring into your life. By the end of this, you will know exactly how to arrange yours — which photos to pick, how to frame them, and where to hang them so the whole wall works.
Problem Statement
Here is the thing about pet gallery walls with pet portraits: most people start with good intentions and end up with a wall that feels cluttered, random, or like they ran out of steam halfway through. You have the portraits — maybe a few different pets, different sizes, different frames — and suddenly you are staring at a blank wall wondering where anything goes. The spacing feels off. The frames do not talk to each other. One portrait is too high, another is lost in the corner, and the whole thing looks like you hung them in the order they arrived instead of the order that makes sense.
The layout is where most people get stuck. You want it to feel intentional, not like a collage that happened by accident. You want the portraits to breathe, to have room around them, but not so much room that they float away from each other. And if you are mixing styles — say, a Renaissance-style portrait next to something more playful — the challenge doubles. How do you make a formal oil painting of your dog sit comfortably next to a watercolor of your cat without the wall feeling like two different rooms?
The Memorial Portrait Problem
Then there is the question of memorial portraits. If one of the portraits is for a pet you have lost, the stakes feel higher. You want to honor them without making the wall feel heavy or sad. You want their portrait to sit naturally with the others — a reminder of the joy they brought, not a shrine that pulls all the attention. Getting that balance right is harder than it sounds, and most people do not talk about it until they are standing there with a hammer, second-guessing every decision.
The other challenge: knowing when to stop. You can always add another portrait, another frame, another memory. But at some point the wall tips from curated to crowded, and you lose the impact of the portraits themselves. The trick is figuring out where that line is before you cross it — and most people do not realize they have crossed it until the wall is already full.
Solution Steps to Arrange Your Gallery Wall
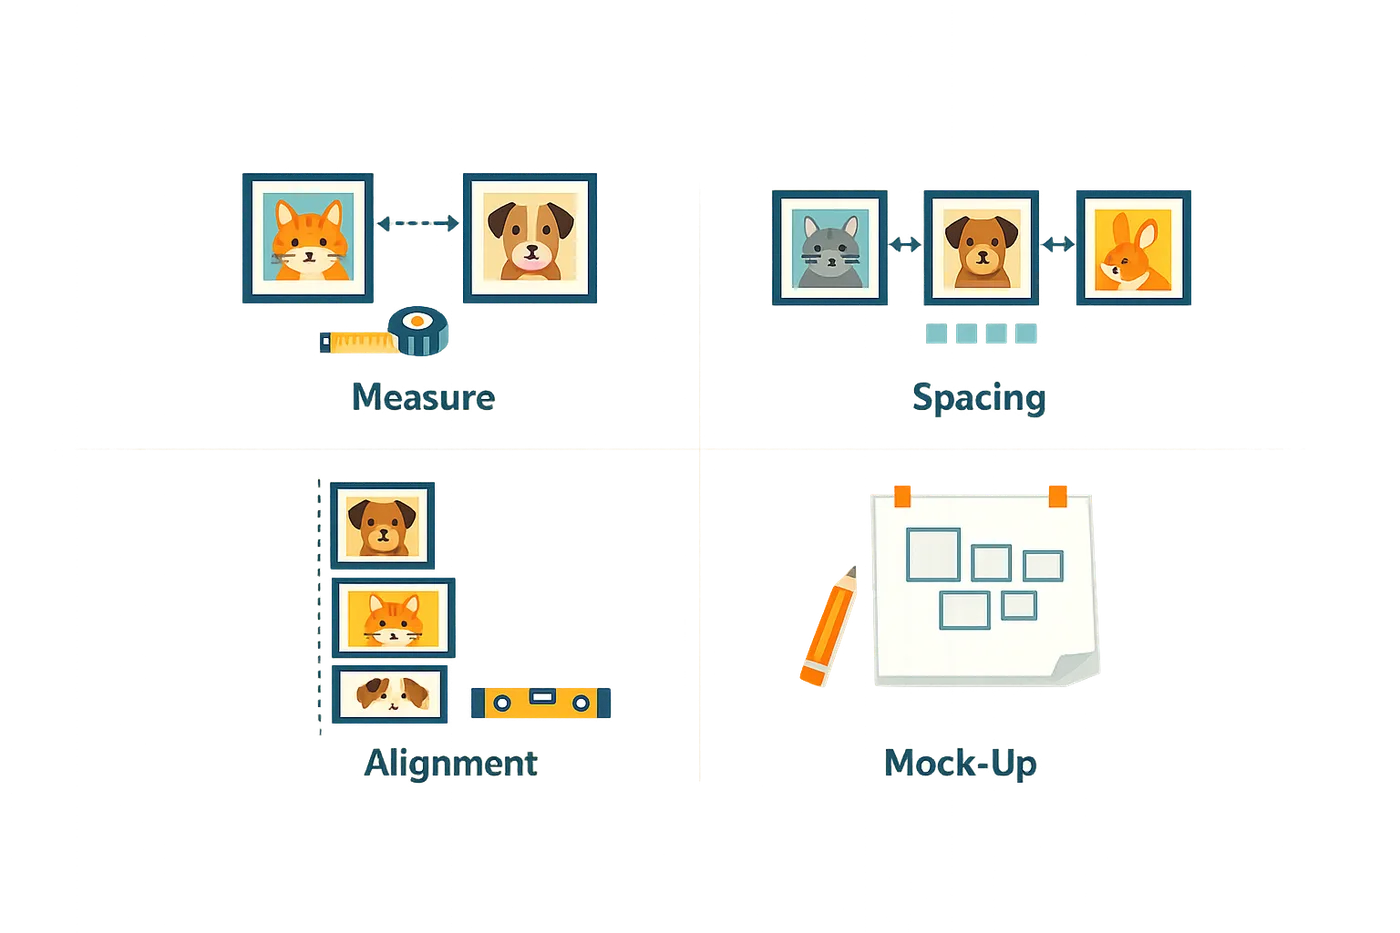
Here is the thing: a pet gallery wall with pet portraits is not about throwing frames on a wall and hoping it works. It is about planning the layout, choosing the right frames, and arranging everything so it feels intentional — not accidental. Let me walk you through the exact steps that make a gallery wall worth hanging.
Step 1: Choose Your Portraits and Styles
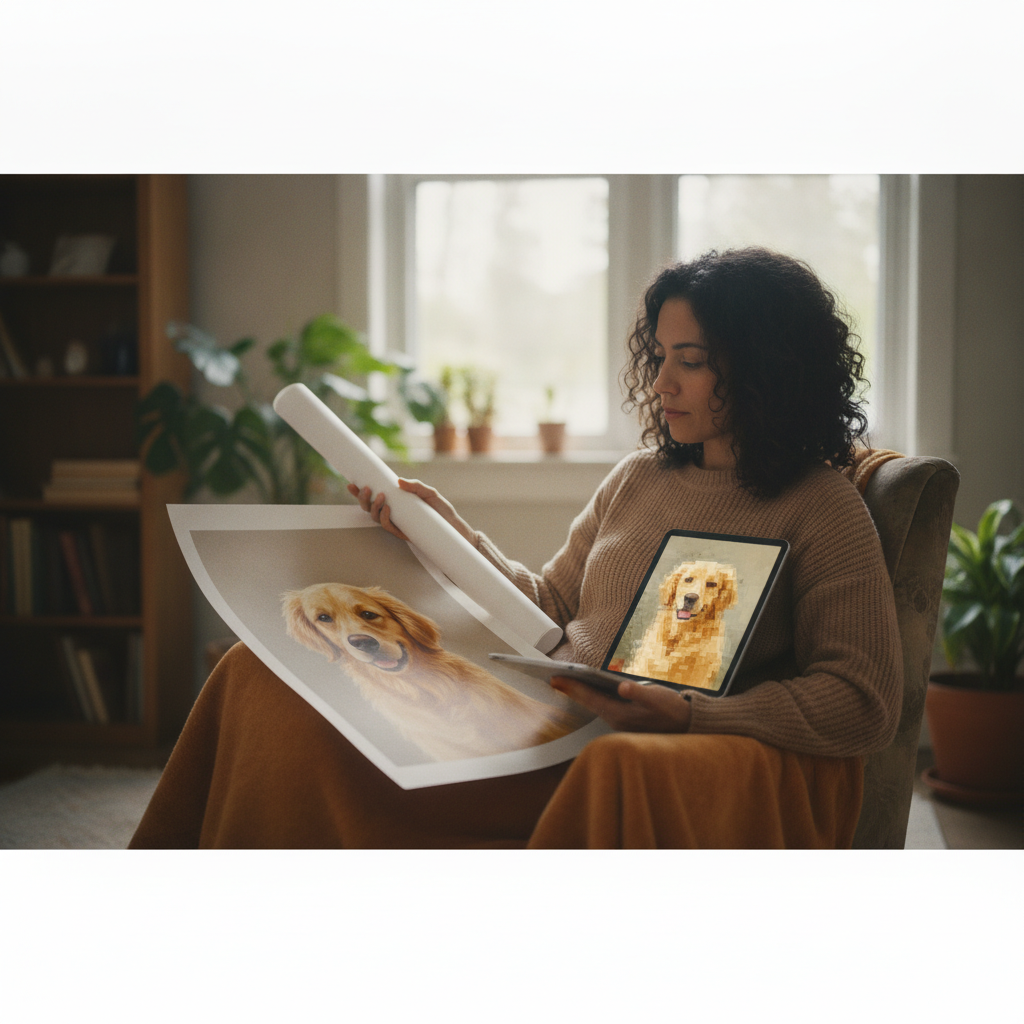
Start by deciding which portraits you want to include. If you are mixing different portrait styles — say, a Baroque portrait with dramatic lighting next to a softer watercolor — think about how they will talk to each other on the wall. The goal is variety without chaos. Pick 3 to 7 portraits depending on your wall size. Odd numbers tend to look more balanced, and mixing sizes keeps things interesting.
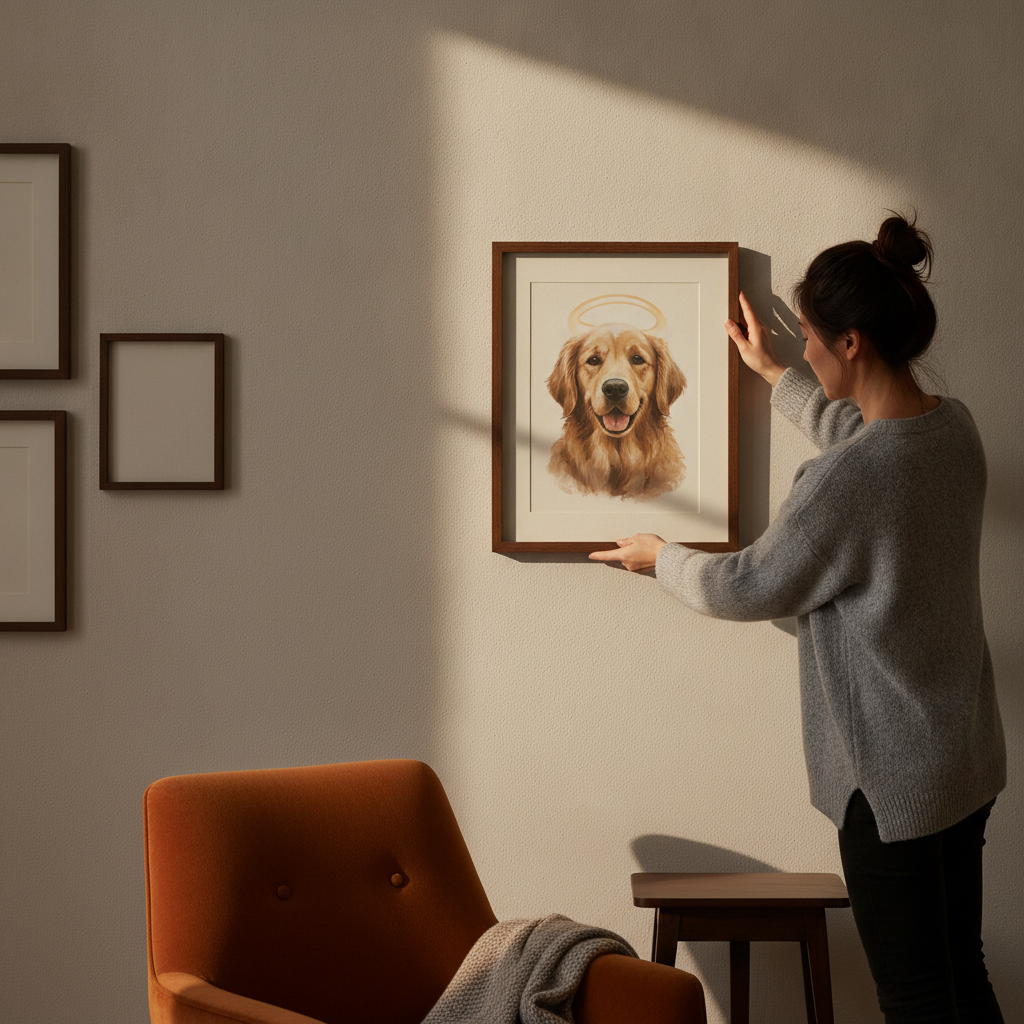
If you are including a memorial portrait, place it where it feels warm and dignified — not tucked in a corner, but not dominating the entire wall either. You want it to feel like part of the family, not a shrine.
Step 1
Select your portraits
Choose 3–7 pet portraits in styles that complement each other. Mix sizes and orientations (vertical and horizontal) for visual interest. If you are working with Renaissance and classical pet portraits, pair them with simpler frames to let the artwork breathe.
Step 2: Pick Your Frames
Frames do more work than you think. They either tie the whole wall together or make it look like you raided three different yard sales. You have two solid approaches here: match all the frames (same color, same style) for a clean, cohesive look, or mix frame styles but keep a common thread — maybe all black frames in different widths, or all wood tones in different finishes.
Whatever you choose, make sure the frames are deep enough so the back is slightly recessed from the wall. This creates a small air gap that protects the portrait and keeps it from sitting flat against the wall — a detail most people skip, but it makes a real difference in how the piece looks and lasts.
Step 2
Choose your frames
Pick frames that either match completely or share a unifying element (color, material, or finish). Avoid mixing metals with woods unless you are confident in your eye. Frames should be sturdy and deep enough to allow a small gap between the portrait and the wall.
Step 3: Plan the Layout on the Floor
This is the part people skip — and then wonder why their wall looks off. Lay all your framed portraits on the floor in the arrangement you are considering. Move them around. Try different configurations. The most common layouts are:
- Grid: equal spacing, same-size frames, very structured
- Salon style: mix of sizes, tighter spacing, more eclectic
- Horizontal line: portraits lined up along an invisible horizontal axis
- Asymmetric cluster: anchored by one large piece, smaller pieces around it
Take a photo of each layout with your phone. Step back. The one you keep coming back to is the one.
Step 3
Mock up the layout
Arrange your frames on the floor in the configuration you are considering. Try at least two layouts. Take photos. The layout that feels balanced without being boring is the winner. Keep the spacing between frames consistent — 2 to 4 inches works for most walls.
Step 4: Mark Your Wall and Hang at Eye Level
The center of your pet gallery wall should sit at eye level — roughly 57 to 60 inches from the floor. This is the height galleries use, and it is the height that feels right when you walk into a room. If your wall is going above a sofa or console, the bottom edge of the lowest frame should be 6 to 12 inches above the furniture.
Use painter's tape or kraft paper templates cut to frame size to mark where each piece will go. Adjust on the wall before you commit to nails. This step saves you from extra holes and regret.
Step 4
Hang at the right height
Measure 57–60 inches from the floor to the center point of your pet gallery wall. Use painter's tape or paper templates to mark frame positions. Step back and check the spacing. Adjust before hammering anything. When you are confident, hang each frame securely.
Step 5: Step Back and Adjust
Once everything is up, step back. Walk out of the room and come back in. Does it feel balanced? Do your eyes move naturally across the wall, or do they get stuck on one spot? Small tweaks — shifting a frame an inch left, tightening the spacing between two pieces — can make the difference between a wall that works and one that almost works.
Let the wall breathe for a day or two before you declare it done. You will notice things in different light, at different times of day. Trust your gut.
Tips and Tricks for a Successful Gallery Wall
Here is the thing about pet gallery walls with pet portraits: the little details that sell it are the ones most people skip. You have your portraits, you have your layout — now let me show you how to make it feel like them.
Mix Portrait Styles for Depth
When planning your layout, consider mixing different portrait styles to add depth and interest. A Baroque style portrait with its dramatic lighting and deep shadows can highlight the soulful eyes of your dog, creating a captivating focal point. Pair this with a more whimsical watercolor portrait to balance the mood and keep the display lively. The era you choose sets the tone, but variety keeps the eye moving.
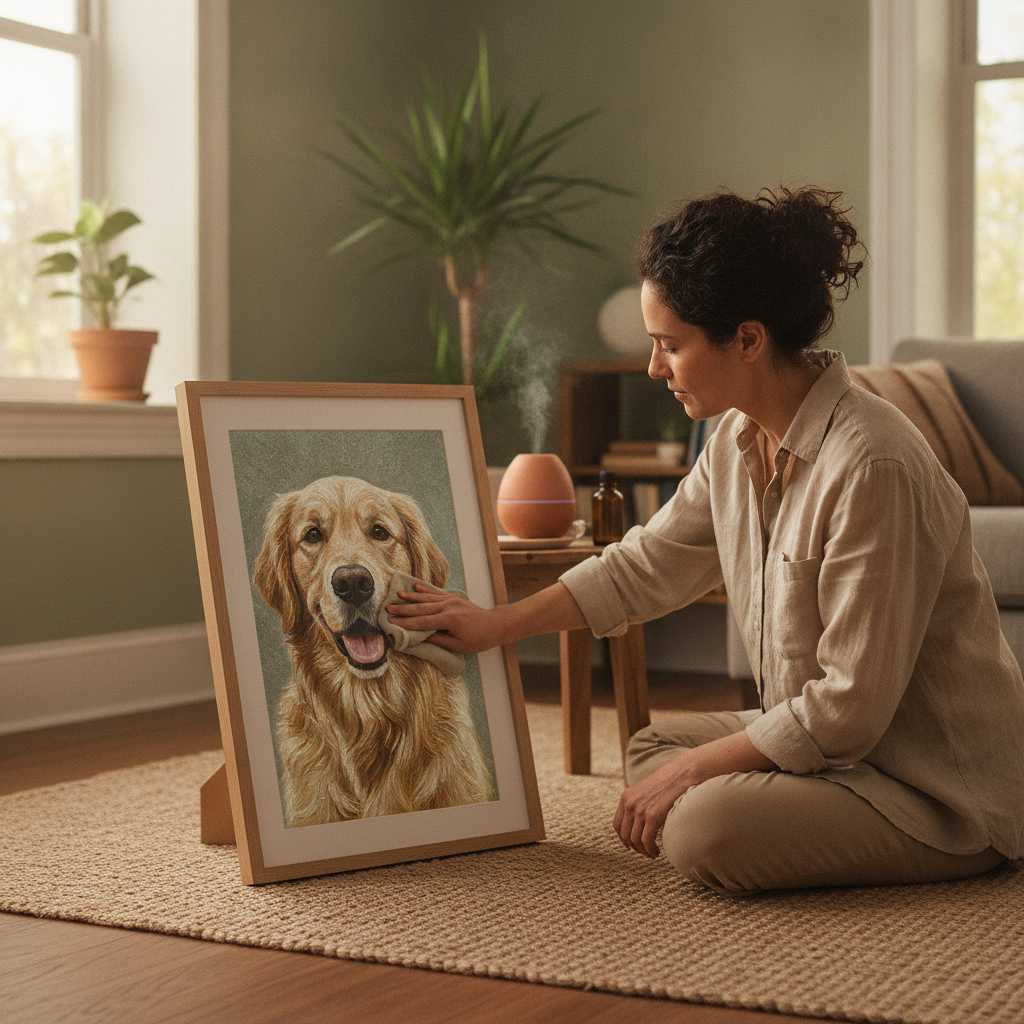
If you are including a memorial portrait, approach it with warmth and dignity. A portrait will not replace the presence of a lost pet, but it can keep their memory alive in your home. It is about creating a space where their spirit feels present, offering comfort and connection — not pressure, not sadness, just them.
Headroom and Eye Level Matter
When arranging the portraits, think about headroom and spacing. Keep the eye level of the portraits consistent for a cohesive look — at their eye level, not yours. Play with different sizes and frames to add variety, but anchor the whole wall to a horizontal line about 57 to 60 inches from the floor. That is where galleries hang art, and it works in your living room too.
Let the photo breathe. If a portrait feels cramped in its frame or the mat is too tight, the whole wall feels tight. A little breathing room around each image makes the difference between a wall that feels expensive and one that feels like you ran out of space.
Framing and Materials
Use stable framing and mounting materials for your pet gallery wall, especially if the portraits will stay up long-term. The mounting materials inside the frame matter — choose mats and mounts that are pH-neutral or slightly alkaline to protect the artwork. If you are framing prints or paintings, make sure the glazing does not come in contact with the surface. A window mat or spacers keep everything safe and looking sharp.
When displaying unframed pieces or mixed media, find a safe and visually acceptable method of securing them. Small amounts of the right adhesive on the back of the mount can hold well without damage, but only use materials designed for the job.
Your pet gallery wall should not only be a reflection of your pets' personalities but also a testament to the joy they bring into your life.
Personal Touches and Cohesion
This is the part people skip: the personal touches that make it yours. Add a nameplate under a favorite portrait. Include a small shelf with their collar or a favorite toy. Frame a candid phone photo next to a formal painted portrait — the contrast is what makes it real.
Keep them in the room. A gallery wall is not a museum — it is part of your home. If the portraits feel too formal or too matchy, loosen it up. One Renaissance-style portrait anchors the wall, but the rest can be softer, warmer, and a little dramatic. You will know it when you see it.
Conclusion
Here is the thing about pet gallery walls with pet portraits: they are not just decoration. They are a way to keep the ones you love in the room with you — whether they are curled up on the couch right now or living on in memory. A wall arranged with care becomes a space where their personality shows up every time you walk past it.
You do not need a design degree or a studio full of equipment. You need good photos, frames that feel right, and a layout that lets each portrait breathe. The rest is just hanging them at eye level and trusting that the faces you love will do the work.
If you are honoring a pet who has passed, approach it with warmth and dignity. A portrait will not replace them, but it can keep their memory alive in your home — a space where their spirit feels present, offering comfort and connection. Creating tangible tributes like a pet gallery wall helps carry them forward, turning grief into something you can see and touch every day.
Start with one or two portraits. Arrange them on the floor first. Move things around until it feels like them. Then hang it, step back, and let yourself enjoy what you built — a pet gallery wall worth coming home to.
For more ideas on turning your favorite photos into wall-worthy art, see our guide on turning your pet photo into art to explore every style that might suit your space.
Learn how to arrange pet gallery walls with pet portraits to create stunning and personalized decor that showcases your furry friends.