Introduction
Here is the thing about pet portrait print resolution: the photo that looks perfect on your phone can turn into a blurry mess on your wall. You are not imagining it — that gorgeous shot of your dog at the park really does lose something when you try to print it at 16×20. The problem is not the photo itself; it is that most of us never think about resolution until we are staring at a fuzzy print that cost real money.
Pet portrait print resolution is just the density of detail in your image, measured in dots per inch. When you look at a photo on a screen, your phone or computer fills in the gaps and makes everything look smooth. A printer does not do that. It puts down exactly what the file tells it to, and if there is not enough information to cover the paper, you get visible pixels, soft edges, and that cheap poster look nobody wants hanging in their home.
The good news: you do not need a photography degree to get this right. You just need to understand one simple relationship — the size of your source file and the size of your final print. Once you know that, turning your pet photo into art becomes straightforward, and you will know exactly which photos will work and which ones to skip.
By the end of this, you will know the exact resolution your pet portrait print needs, how to check if your photo has it, and what to do when it does not. No math, no guessing — just the information that keeps your portrait worth hanging.
Problem Statement
Here is the thing about pet portrait print resolution: most people do not realize there is a problem until the frame is already on the wall. You upload the photo you love, you order the portrait, and when it arrives, something feels off. The detail is not there. The fur looks soft and blurry instead of crisp. The eyes — the part that made you fall in love with the photo in the first place — look muddy.
This is not a problem with the painting style or the artist. It is a resolution problem, and it happens more often than you think.
What Goes Wrong When Resolution Is Too Low
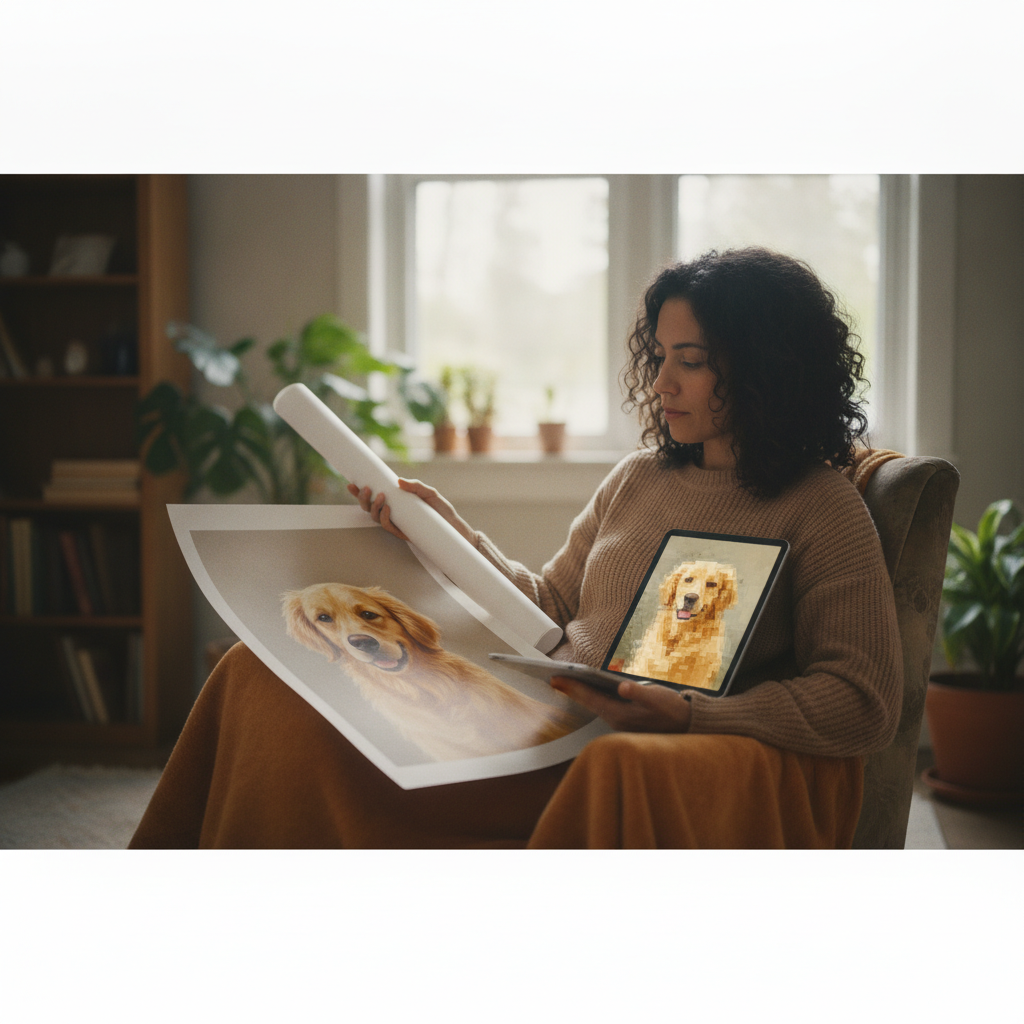
When the source photo does not have enough pixels for the size you want to print, the printer has to guess. It fills in the gaps by stretching what is there, and that is when you get the soft, pixelated look that screams "cheap" instead of "worth hanging." The portrait might look fine on your phone screen, but at 16×20 inches on your living room wall, every missing pixel shows.
The most common mistake is assuming that because a photo looks sharp on a screen, it will print sharp at any size. Screens and prints work differently. A photo that looks perfect at 6 inches can fall apart at 24 inches if the resolution is not there to support it.
Another issue: cropping. You take a great full-body shot of your dog in the yard, then crop it down to just her face for the portrait. That crop throws away most of your pixels, and now the image you are working with is a fraction of the resolution you started with. If you were already close to the edge, that crop pushes you over.
The Print-Size Trap
People also underestimate how much resolution they need for the print size they want. A 5×7 print is forgiving. An 8×10 is still manageable. But once you get into 16×20 or larger — the sizes that actually make a statement on a wall — the resolution requirements jump fast. The photo that worked beautifully as a small gift print will not hold up as a gallery-wall centerpiece unless the source file is strong enough to support it.
This is the part people skip: checking the resolution before they commit to the size. By the time you realize the print is not going to look the way you imagined, you have already placed the order. The fix is not complicated, but it requires knowing what to look for up front — and that is what most people do not know to check.
What Pet Portrait Print Resolution Does Your Photo Need?
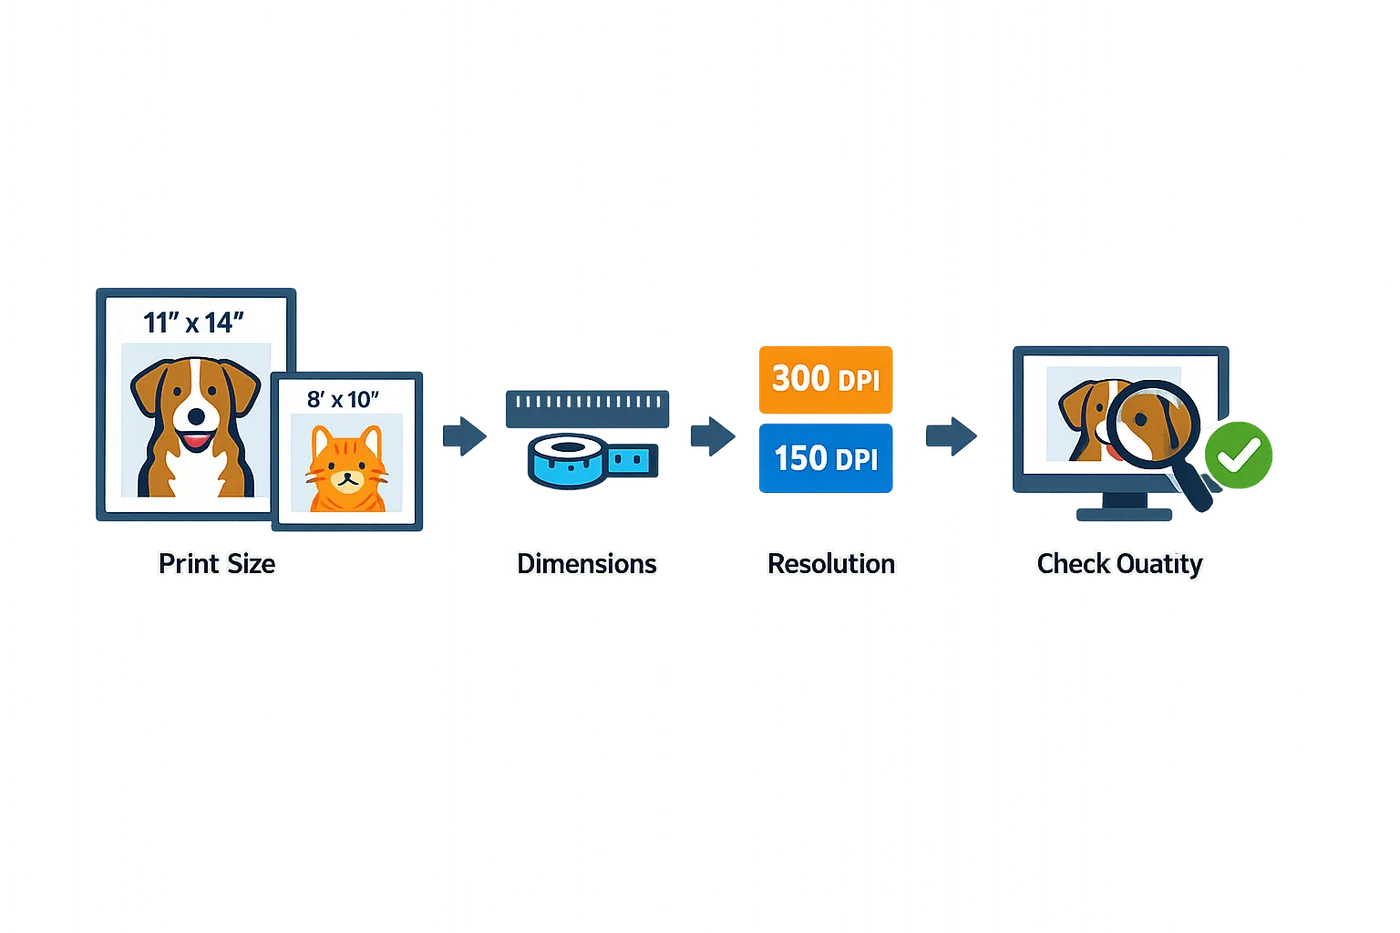
Here is the thing about getting the right resolution: it is not about the highest number you can find. It is about matching the print size you actually want to the detail your photo can support. Let me walk you through it.
Start with Your Print Size
Step 1
Decide your final print dimensions
Before you worry about pixels, figure out where this portrait is going. An 8×10 for the mantel needs different resolution than a 24×36 canvas for the living room wall. Measure the space, or hold your hands up at the wall to visualize the size. Write down the width and height in inches.
The print size dictates everything else. If you skip this step, you will either over-prepare a tiny photo or under-prepare a big one.
Step 2
Calculate the minimum pixel dimensions
For most pet portrait print resolution needs, aim for 300 pixels per inch (PPI). Multiply your print width in inches by 300, then do the same for the height. That gives you the pixel dimensions your source photo should have. For example, a 16×20 print needs at least 4800×6000 pixels.
If your photo falls short, you have two choices: print smaller, or accept that the portrait will look softer up close. There is no magic fix for missing detail.
Check Your Source Photo
Step 3
Find your photo's actual resolution
On your phone or computer, open the photo's info or properties. Look for dimensions — something like 3024×4032 or 4000×3000. Divide each dimension by 300 to see the maximum print size at full quality. A 3000×4000 pixel photo gives you a clean 10×13.3 print.
Most phone cameras from the last few years shoot at least 3000 pixels on the short side, which is enough for an 8×10 or even a 12×16. Older phones, cropped photos, or screenshots will come up short.
Step 4
Adjust your plan if the numbers do not match
If your photo is smaller than the calculation in Step 2, you have three options. One: print smaller and keep the quality. Two: print at the size you want and accept some softness. Three: choose a different photo. The worst move is to ignore the gap and hope it works out — it will not.
This is the part people skip, and it is why some prints look sharp and others look like someone smeared Vaseline on the lens.
Match the Resolution to the Viewing Distance
A portrait you hang at eye level in a hallway will be seen from two feet away. A big canvas over the couch gets viewed from across the room. The farther the viewing distance, the more you can get away with lower resolution.
For close viewing (under three feet), stick to 300 PPI. For wall art viewed from six feet or more, 150–200 PPI often looks fine. The detail blends at distance. If you are printing something for a gallery wall where people will walk right up to it, do not compromise.
Use the Right File Format
When you send your photo to the printer or portrait service, use a format that does not throw away detail. JPEG is fine if it is high quality (low compression). PNG is better. TIFF is overkill for most pet portraits but will not hurt.
Avoid saving and re-saving the same JPEG multiple times — each save degrades the image a little. If you need to crop or adjust, do it once, then export a fresh high-quality file for printing.
The goal is simple: give the printer enough pixels to fill the print size without inventing detail that is not there. Do that, and your portrait will look like the one you keep coming back to on your phone — just bigger and worth hanging.
Tips and Tricks for Pet Portrait Resolution
Here is the thing about resolution: it does not exist in a vacuum. The file you send is only half the story — what happens after that matters just as much. A 300 DPI file printed on cheap bond paper will look worse than a 200 DPI file on proper photo stock. The paper, the ink, and how you store the finished piece all determine whether your portrait stays worth hanging or fades into something you hide in a drawer.
Start With the Right Paper
Bond paper — the stuff in your office printer — will destroy your portrait over time. The lignin in wood pulp breaks down the image, and the rosin sizing yellows and cracks. If you want a portrait that lasts, use inkjet photo paper with proper external sizing or fine art paper designed for archival printing. The surface matters. Glossy finishes show detail beautifully but can glare under certain light. Matte and luster finishes let the photo breathe and work better on a gallery wall where you cannot control every angle.
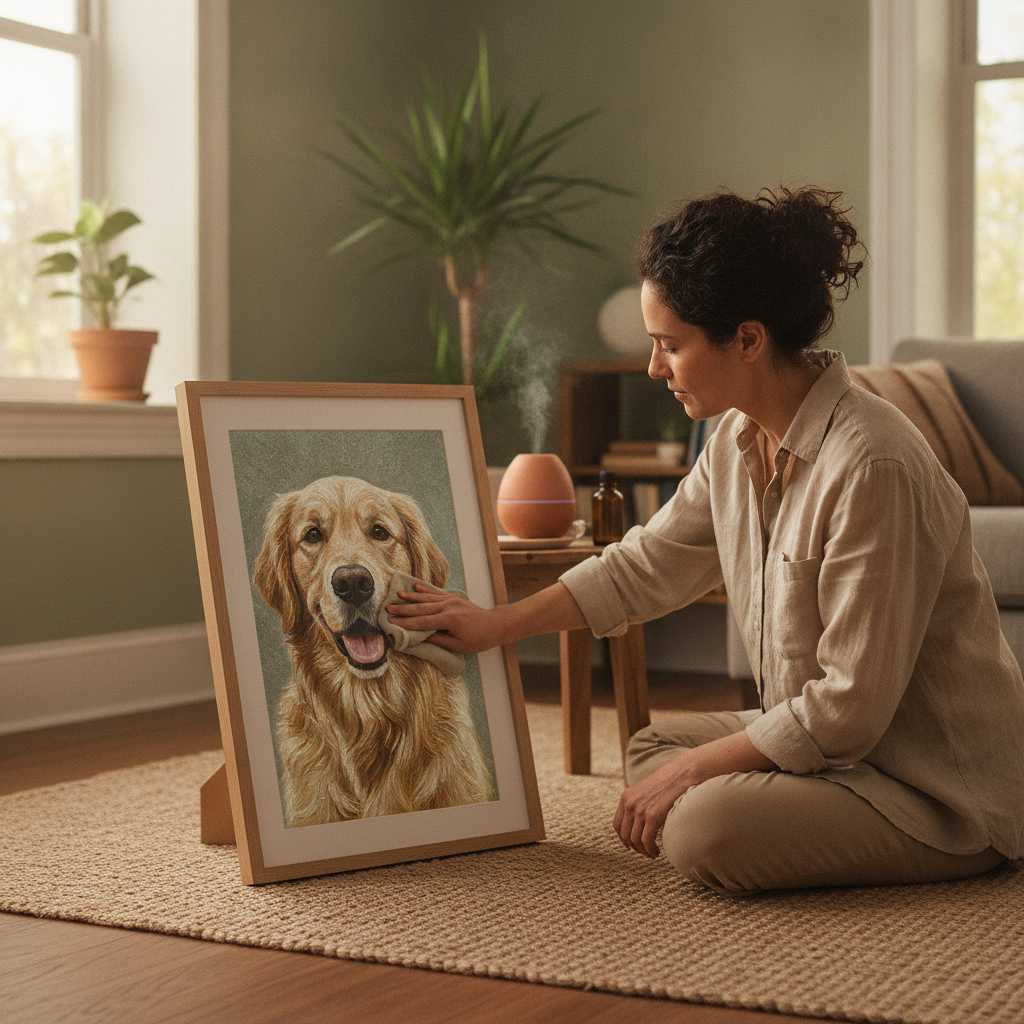
Protect the Print After It Arrives
You got the resolution right, you picked good paper, and the portrait looks perfect when it arrives. Now keep it that way. Relative humidity is the silent killer — anything above 50% and you are asking for fading, discoloration, and dye bleed. Keep it between 30% and 40% if you can, and never let it drop below 15%. Temperature swings warp the support and speed up color degradation. Aim for 65° to 70°F, and keep it stable — seasonal swings stress the paper and cause warping.
Light is the other enemy. Ultraviolet radiation from windows, fluorescent bulbs, and halogen track lights will fade your portrait faster than you think. If you are hanging it in a bright room, frame it under UV-protective glass or keep it out of direct sun. The little details that sell it are the ones you protect from the start.
The photo you choose is only as good as the materials you print it on and the conditions you keep it in.
Common Pitfalls to Avoid
The photo everyone gets wrong is the one they upscale in software and assume will print fine. If your source image is 150 DPI, no amount of interpolation will create real detail — you are just making the blur bigger. Start with a high-resolution source or accept a smaller print size. Another mistake: assuming all printers handle resolution the same way. A commercial lab expects 300 DPI at final size. A large-format poster printer may work beautifully at 150 DPI because of viewing distance. Know what your printer needs before you send the file.
Do not skip the test print. If you are ordering a 24×36 portrait, print an 8×10 first on the same paper with the same settings. You will catch color shifts, sharpness issues, and cropping problems for a fraction of the cost. And if you are turning a favorite photo into a custom portrait in a specific style, make sure the resolution supports the level of detail that style demands — a Renaissance portrait needs crisp edges and fine texture that a low-res file simply cannot deliver.
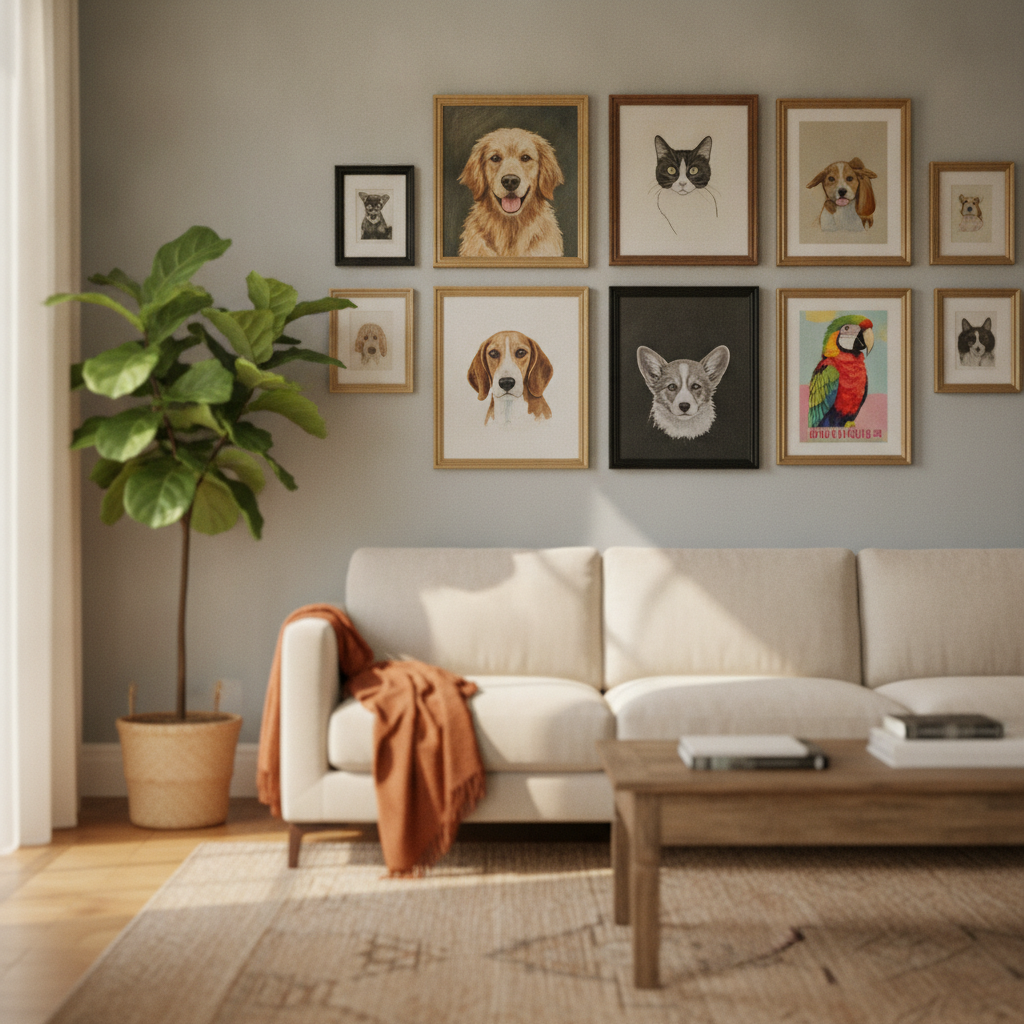
For more specialized pet portraits, see our guides on Victorian pet portraits and Renaissance and classical styles — each style has specific resolution needs based on the level of detail the artist can capture.
Conclusion
Here is the thing about pet portrait print resolution: the number matters, but only as much as the combination of your source photo, the print size you pick, and how you plan to keep it looking good once it is on the wall. You do not need to chase a mythical perfect DPI — you need to match your file to your frame and your display conditions.
If you walked away with nothing else, remember this: 300 DPI is the safe bet for most prints up to 16×20 inches, but you can drop to 150–200 DPI for larger gallery pieces that hang at a distance. Your phone photo is probably good enough for an 8×10, and if you are printing something you want to last, keep it out of direct sun and somewhere that does not swing between sauna and freezer.
The portrait you keep coming back to is the one that feels like them — sharp enough to see their expression, soft enough to feel warm, and printed at a resolution that does the work without making you second-guess it. That is the standard worth hanging.
For more on choosing the right style and approach for your pet's portrait, see our guide on turning your pet photo into art — it walks through every option and what suits which personality. If you are wondering how long a custom painting takes, that guide covers timelines and what affects turnaround.
Frequently asked questions
What is the minimum pet portrait print resolution for an 8×10 print?
For an 8×10 print, you need at least 2400×3000 pixels at 300 DPI. Most modern phone cameras exceed this, but cropped photos or older devices may fall short.
How does viewing distance affect pet portrait print resolution requirements?
Prints viewed from six feet or more can use 150–200 DPI and still look sharp. Close viewing (under three feet) requires 300 DPI to avoid visible pixelation.
Can I upscale a low-resolution photo for a pet portrait print?
Upscaling software cannot create real detail — it only enlarges existing pixels. A 150 DPI source will produce a softer print regardless of upscaling. Start with high-resolution sources or print smaller.
What file format preserves pet portrait print resolution best?
PNG preserves detail without compression loss. High-quality JPEG (low compression) works well for most prints. Avoid re-saving the same JPEG multiple times, as each save degrades the image.
Learn the ideal pet portrait print resolution to ensure your artwork looks stunning and professional.
Table of Contents
- Introduction — Introduce the importance of resolution in pet portrait prints.
- Problem Statement — Highlight common issues with incorrect resolution in pet portrait prints.
- What Pet Portrait Print Resolution Does Your Photo Need? — Provide a step-by-step guide on how to determine the correct resolution for pet portrait prints.
- Tips and Tricks for Pet Portrait Resolution — Offer practical tips for ensuring high-quality prints and common pitfalls to avoid.
- Conclusion — Summarize the key takeaways regarding pet portrait print resolution.
- Table of Contents