
Introduction
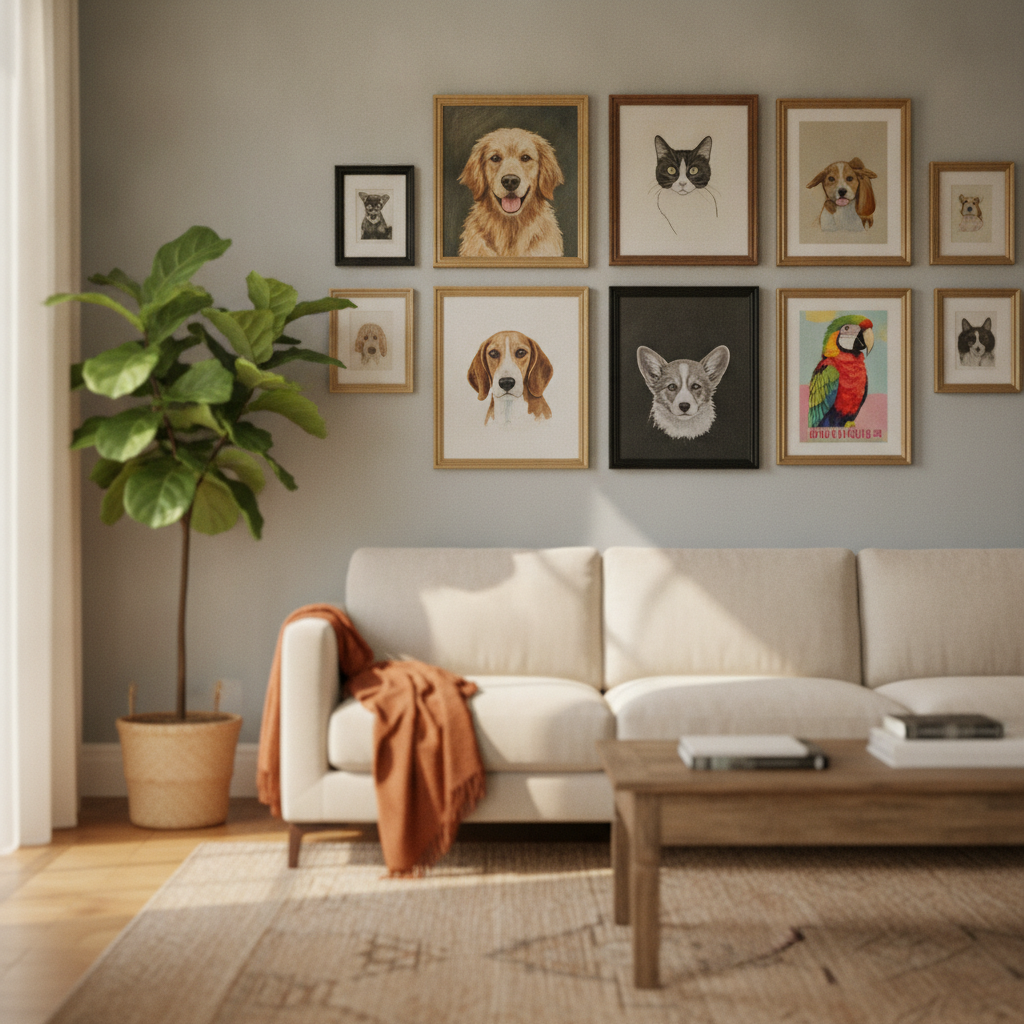
Here is the thing about where to hang a pet portrait: the spot you choose changes how you experience it. A portrait tucked in a guest room becomes decoration. A portrait in your hallway becomes part of your daily routine — something you greet, something that keeps them in the room with you.
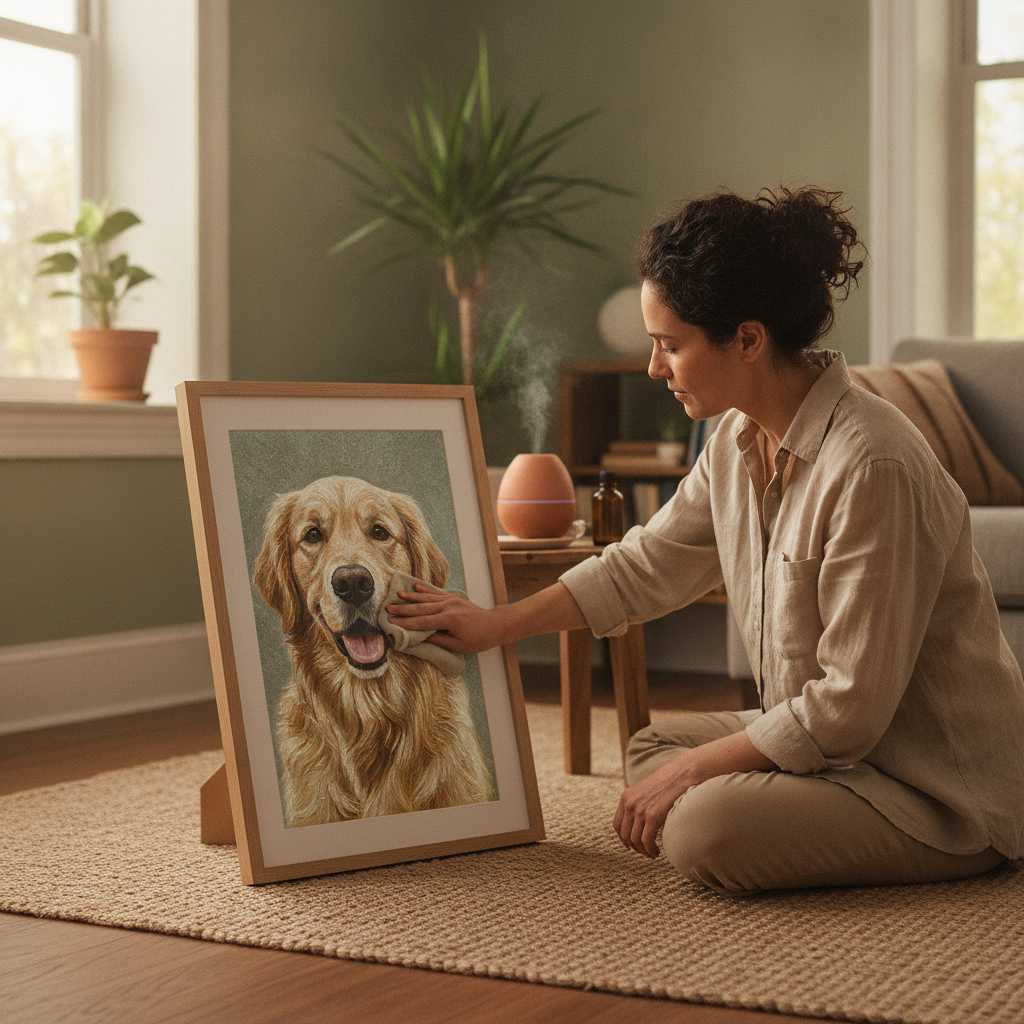
I have seen people hang beautiful portraits in places where they fade in six months or gather dust because no one walks past them. The photo was perfect, the painting was worth hanging, and the location killed it. You want a spot that protects the art and puts it where you will actually see it.
The best placement is not about filling a blank wall. It is about light that does not damage the canvas, a height that feels natural, and a room where you spend real time. Get those three things right and the portrait does its job — it keeps your pet present, not just preserved. Whether you are considering a Renaissance and Classical Pet Portrait or a simpler style, the location matters as much as the image itself.
This guide walks you through the practical side: which rooms work, which rooms do not, how high to hang it, and what kind of light to look for. By the end you will know exactly where your portrait belongs — and where it does not.
Problem Statement
Here is the thing about hanging a pet portrait: most people get it wrong the first time. They pick a spot that feels right in the moment — above the couch, near a window, in the hallway — and then wonder why the portrait fades, warps, or just looks off a few months later. The photo everyone gets wrong is the one they hang without thinking about light, moisture, or how the room actually works.
The biggest mistake is treating a pet portrait like any other piece of wall decor. It is not. Whether it is a canvas print, a framed watercolor, or a Renaissance-style oil painting, the materials matter. Paper-based portraits are especially vulnerable — they can yellow, curl, or develop mold if you hang them in the wrong spot. Even canvas can fade or crack under harsh conditions.
Where People Go Wrong
Most of the mistakes come down to three things: light, location, and height. Let me walk you through the ones I see most often.
Hanging in direct sunlight. This is the number one culprit. UV rays fade ink, watercolor, and even some canvas prints over time. A portrait that looks vibrant today can turn washed-out and dull within a year if it is in a sunny spot. Indirect light is fine — good light does most of the work — but direct sun is a slow killer.
Choosing damp or humid rooms. Bathrooms, laundry rooms, and kitchens seem like cozy places for a pet portrait, but moisture is the enemy of paper and canvas. Humidity causes warping, mold, and adhesive failure in frames. Uninsulated exterior walls collect condensation in winter, which creates the same problem. If the wall feels cold to the touch, do not hang a portrait there.
Ignoring wall temperature and airflow. Portraits need a little breathing room. Frames hung flat against a wall with no air circulation trap moisture and heat, which accelerates deterioration. This is especially true on exterior walls or in rooms with poor ventilation.
Hanging too high or too low. This one is less about preservation and more about display, but it matters. A portrait hung at the wrong height feels disconnected from the room. The standard rule is to hang at eye level — roughly 57 to 60 inches from the floor to the center of the frame — but that does not account for furniture, sightlines, or how you actually use the space.
The cheapest frame in the world will outlast an expensive one if you hang it in the right spot.
Why These Mistakes Matter
A pet portrait is not just decor. It is a memory you want to keep. Whether it is a memorial piece or a celebration of your dog's ridiculous personality, you do not want it to fade, warp, or look like an afterthought. The good news is that most of these mistakes are easy to avoid once you know what to look for.
In the next section, I will walk you through exactly how to choose the right spot — step by step, no guesswork required.
Solution Steps: Choosing the Right Spot for Your Pet Portrait
Here is the thing: the right spot makes your portrait feel like it belongs. The wrong spot makes it look like an afterthought you stuck on a wall. Let me walk you through the steps that actually work.
Step 1: Find the Light That Does Not Hurt
Start by ruling out direct sunlight. If a window throws a beam across the wall at any point in the day, that is not your wall. Sunlight fades prints and canvases — slowly at first, then all at once.
Look for soft, indirect light instead. A room with windows on an adjacent wall works well, or a hallway that gets a gentle wash of daylight without the glare. If the room has overhead lighting, that is fine — just keep the portrait out of the direct cone of a spotlight.
Step 2: Measure Eye Level — Then Adjust for the Room
The rule everyone quotes is "hang it at eye level," but that is too vague to be useful. Here is what that actually means: the center of the portrait should sit around 57 to 60 inches from the floor — roughly where your eyes land when you are standing and looking straight ahead.
But rooms are not all the same. In a hallway where you are walking past, 57 inches works. In a living room where everyone is seated, drop it a few inches so it does not float above the furniture. If you are hanging it above a console table or a low credenza, the bottom edge of the frame should clear the top of the furniture by 4 to 8 inches — not more, or it looks disconnected.
Step 1
Mark the center point
Measure 57 inches up from the floor and make a light pencil mark on the wall. This is your center line — the middle of the portrait, not the top of the frame.
Step 2
Account for furniture
If the portrait hangs above a sofa, console, or mantel, measure from the top of that piece instead. Add 4 to 8 inches, then find the center of the portrait from there.
Step 3
Adjust for the frame
Measure your frame height, divide by two, and subtract that number from your center mark to find where the top of the frame should land. That is your hanging point.
Step 3: Keep It Away from Moisture and Heat
Bathrooms, laundry rooms, and kitchens are out. Humidity warps canvases and causes prints to buckle. Even a powder room with a shower down the hall is risky if the door stays open.
Avoid hanging portraits directly above radiators, heating vents, or fireplaces. Heat rises, and it carries moisture with it — both will degrade your portrait faster than you would expect. If you love the look of a portrait over the mantel, make sure the fireplace is decorative or rarely used, and leave at least 12 inches of clearance between the top of the mantel and the bottom of the frame.
Also skip exterior walls in older homes, especially uninsulated ones. These walls collect condensation in winter and during humid months, and that moisture seeps into anything hanging on them.
Step 4: Choose a Room Where You Actually Spend Time
This sounds obvious, but people get it wrong all the time. The formal dining room you use twice a year is not the right spot for your dog's portrait — you will forget it is there. Hang it in the living room, the hallway you walk through every morning, your bedroom, or your home office. Somewhere you will see it daily and feel the reason you commissioned it in the first place.
If you are choosing between two walls in the same room, pick the one you face most often. A portrait on the wall behind the sofa does nothing for you when you are sitting on that sofa. Put it across from your favorite seat instead.
For more ideas on how to turn your pet photo into art that suits the room, explore the full range of portrait styles — some work better in cozy spaces, others in formal settings.
Step 5: Test the Spot Before You Commit
Before you hammer a nail, tape the frame outline to the wall with painter's tape or hold the portrait in place and step back. Walk into the room as you normally would. Sit in your usual chair. Does it feel right, or does it feel like it is fighting for attention with something else?
If the portrait disappears next to a busy gallery wall or a large piece of furniture, try a different wall. If it feels too small on a big blank expanse, consider flanking it with two smaller pieces or moving it to a cozier spot.
The photo you keep coming back to deserves a wall that lets it breathe.
Tips and Tricks for Hanging Pet Portraits
Here is the thing about hanging a pet portrait: the little details that sell it are the ones most people skip. You chose the photo, you picked the era, you got the portrait painted — and then you hang it crooked in harsh light next to a heating vent. Do not do that.
Use Indirect Light and Skip the Spotlights
Good light does most of the work. Indirect and low lighting will spare the portrait and require less adjustment of the eye from areas of intense light to those of relative darkness. If you have a spotlight trained directly on the wall, move it or turn it off — direct beams fade color and age paper faster than anything else. Soft, warm, and a little dramatic is the goal. Let the portrait breathe in even, ambient light, and it will look expensive without trying.
Keep the Portrait Away from the Frame Edge
The portrait should never touch the glass or the inside edge of the frame. When you frame it, make sure it is attached to an appropriate backing board and that there is space — either from a mat or a spacer — between the artwork and the glazing. If moisture condenses on the inside of the glass, a portrait stuck to it will warp, stain, or worse. This is the part people skip, and it is the one that ruins an otherwise perfect piece.
Hang It at Their Eye Level
You want the portrait to feel like them, not like a decoration you stuck on the wall because you had space. Hang it at the height where your pet's eyes would meet yours if they were standing in the room. For a dog, that is usually lower than you think — around 50 to 55 inches from the floor to the center of the frame. For a cat, a bit higher. For a horse, you are aiming for a commanding presence, so go up. The shot that actually works is the one that puts you face-to-face with the subject every time you walk past.
The portrait should sit where your pet's gaze would meet yours — that is what makes it feel like them, not just a picture of them.
Avoid Damp Walls and Uninsulated Exterior Walls
Do not hang a portrait on an uninsulated outside wall, which can collect moisture during winter or periods of high humidity. Damp areas — bathrooms, laundry rooms, basements with poor ventilation — will warp paper and fade color faster than you would expect. If you must use an exterior wall, leave space behind the frame for air circulation. Small rubber bumpers or push pins on the back of the frame will hold it slightly away from the wall and keep moisture from building up.
Choose the Right Style for the Room
If you went with a Renaissance or classical portrait, hang it somewhere with a bit of gravitas — a study, a library, a formal living room. If you chose a lighter, more playful style, the kitchen or a hallway works. The era you choose should match the room it lives in, or the whole thing will feel off.
Conclusion
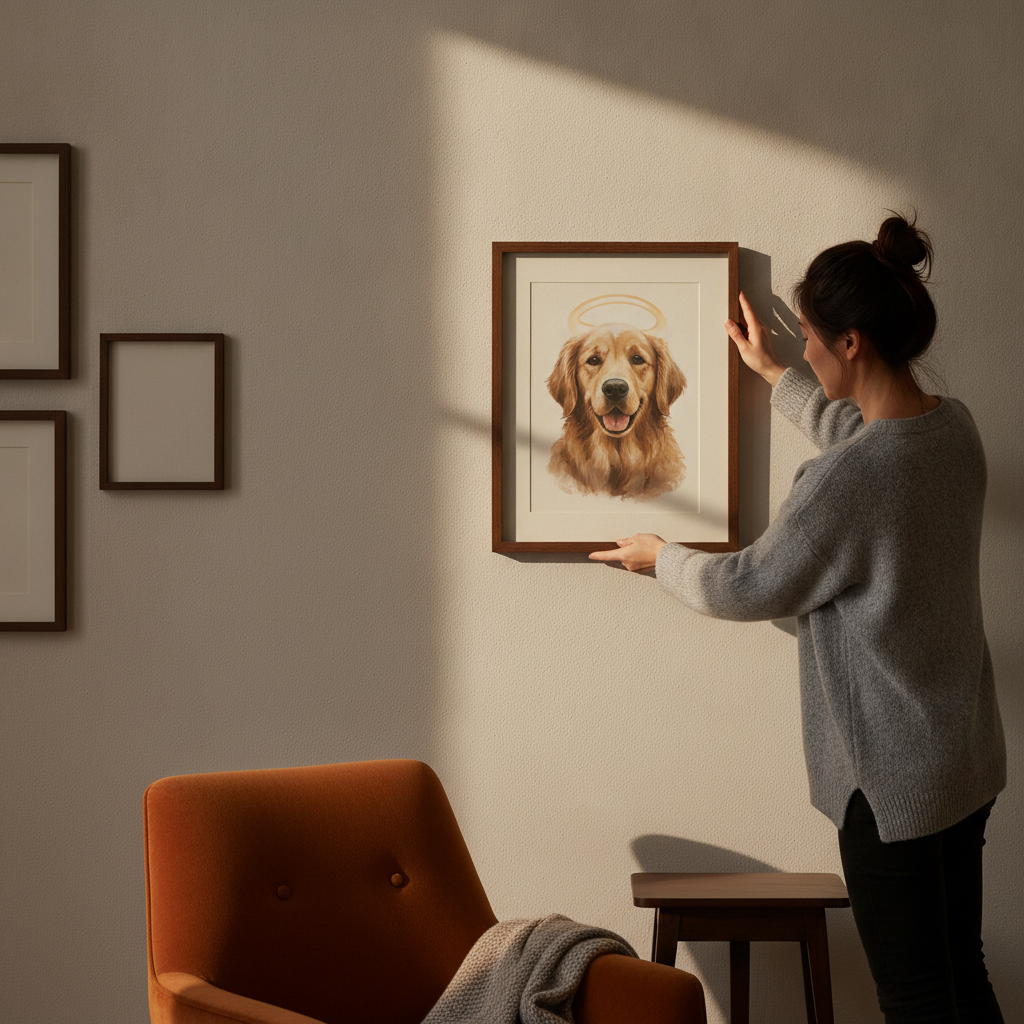
Here is the thing about hanging a pet portrait: the right spot is not the one that fills a gap on your wall — it is the one that lets you see them every day without thinking twice. That means good light, the right height, and a room where the portrait can breathe.
You have learned where the light works, where it does not, and which rooms to skip. You know that eye level beats guesswork, that hallways and living rooms usually win, and that bathrooms and kitchens are almost always the wrong call. Now you can hang the portrait with confidence — no regrets, no do-overs.
If you are still deciding on a style or wondering which photo will convert best, start with Renaissance and Classical Pet Portraits: Your Pet as Old-Master Art. The era you choose changes everything about how the portrait reads on your wall, and that guide walks you through what works where.
The portrait is worth hanging. Give it the spot it deserves, and it will keep them in the room for years.
Discover where to hang a pet portrait, focusing on light, height, and rooms to avoid for the best display.
Table of Contents
- Introduction — Introduce the importance of choosing the right location for a pet portrait.
- Problem Statement — Discuss common mistakes made when choosing where to hang a pet portrait.
- Solution Steps: Choosing the Right Spot for Your Pet Portrait — Provide actionable steps for selecting the best location for a pet portrait.
- Tips and Tricks for Hanging Pet Portraits — Share expert tips to ensure your pet portrait is displayed beautifully.
- Conclusion — Summarize the key points and encourage thoughtful placement of pet portraits.
- Table of Contents