
Introduction
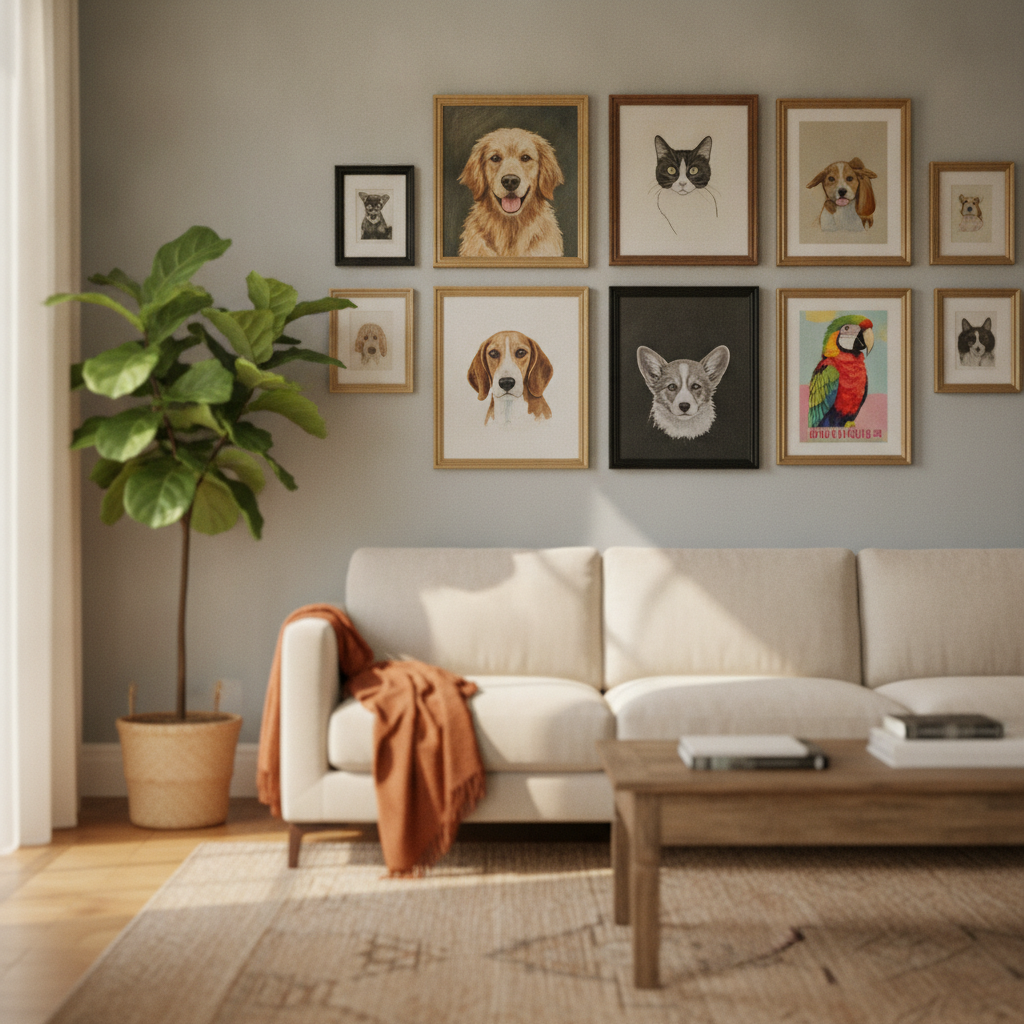
How to frame a pet portrait is the question that separates a portrait you hide in a drawer from one that commands a place on your wall. The art is only half the story. The frame is what keeps people in the room. A great portrait in the wrong frame looks like an afterthought. A good portrait in the right frame looks like something you commissioned on purpose.
Framing is not just about protection — though that matters. It is about making the portrait feel finished, intentional, and worth the wall space. Mats create breathing room. Moulding anchors the piece to the room. Glass keeps the surface safe from fingerprints, dust, and the chaos of everyday life. Get these three elements right, and the portrait does not just survive — it becomes part of the home.
People fill their walls with pet portraits for all kinds of reasons. Some want a memorial. Others want a conversation piece. A few just want to see their dog looking regal every time they walk past the living room. Whatever your reason, the frame is what makes the portrait land. This is not about rules — it is about choices that work for your space, your style, and the portrait itself.
By the end of this, you will know which mat width makes sense, which moulding style flatters which portrait, and which glass protects without stealing the show. No studio required. Just a portrait worth framing and a plan that gets you there.
The Problem of Framing Pet Portraits
Here is the thing about framing a pet portrait: you can spend weeks choosing the perfect photo, getting the painting just right, and then ruin the whole thing with the wrong frame. It happens all the time. You hang it up, step back, and something feels off — the portrait looks cheap, the colors fight with the mat, or worse, the whole piece starts to warp or fade within a year.
The biggest mistake people make is treating a pet portrait like a poster. They grab whatever frame fits at the craft store, skip the mat entirely, or use materials that look fine today but damage the artwork over time. Poor-quality materials can cause your portrait to become discolored, stained, or brittle — especially if the portrait is on paper or canvas. Wood frames that sit too close to the artwork can leave burn marks along the edges, and low-grade mats release acidic gases that yellow and weaken the paper.
Another common problem is the gap — or lack of one. If your portrait sits directly against the glass, moisture can condense on the inside of the frame and cause the artwork to stick or warp. This is especially true in rooms with temperature swings or high humidity. The portrait needs space to breathe, and that space comes from the right mat depth and proper mounting.
Then there is the aesthetic problem. A thin, flimsy mat makes even a beautiful portrait look like an afterthought. A frame that is too ornate can overpower the subject, while one that is too plain can make the whole piece disappear on the wall. The frame should support the portrait, not compete with it — and that balance is harder to strike than it looks.
Why Proper Framing Matters
Proper framing is not just about looks — it is about protection. A well-framed portrait will last decades without fading, warping, or deteriorating. The right materials keep pollutants, moisture, and UV light away from the artwork. A good mat keeps the portrait away from the glass and the wood of the frame, preventing contact damage. And a solid backing board protects the portrait from physical bumps, temperature changes, and humidity swings.
When you frame a pet portrait correctly, you are also making it easier to move, clean, and rehang without worry. The portrait stays flat, the colors stay true, and the whole piece keeps the quality you paid for. That is the difference between a portrait that looks good for a year and one that looks good for a lifetime.
If you are serious about turning your pet photo into something worth hanging, the frame is not an afterthought — it is half the job. And getting it right means understanding what mats, moulding, and glass actually do.
How to Frame a Pet Portrait: Mats, Moulding, and Glass
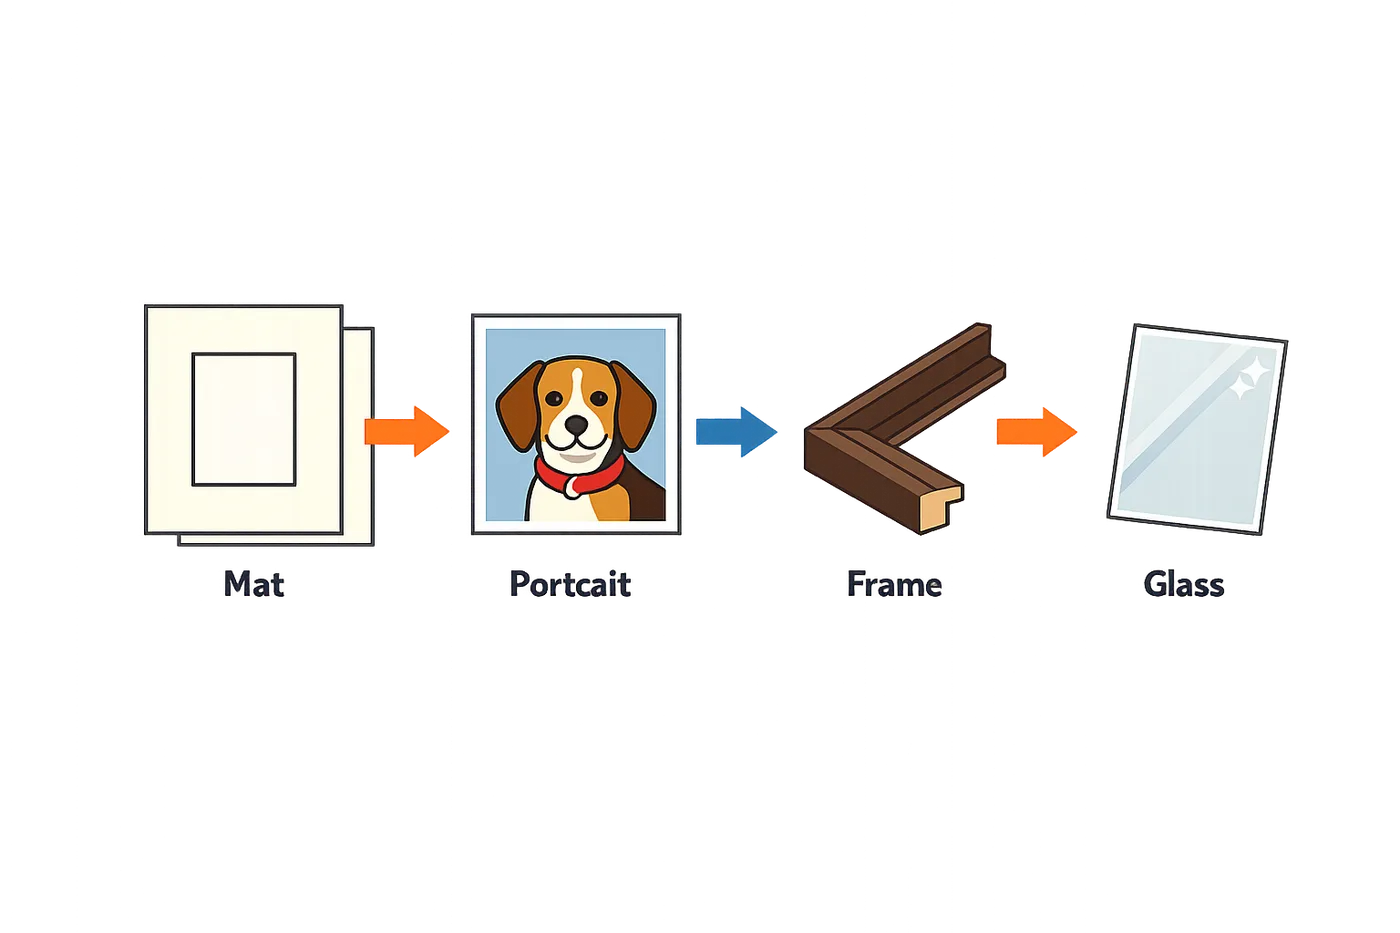
Framing a pet portrait is not complicated — it just requires attention to three things: the mat, the moulding, and the glass. Get those right and the portrait looks expensive. Get them wrong and it looks like something you picked up at a yard sale. Here is how to frame a pet portrait so it actually looks like it belongs on your wall.
Choose the Right Mat and Backing
The mat does two jobs: it keeps the glass off the portrait, and it gives the eye a place to rest. A standard mat package consists of a window mat and a primary backing board, held together with gummed linen tape along one edge. Use 100% cotton rag-board for both — not foam board, not craft-store mat board, not anything with "archival" in the name unless it specifically says cotton rag.
The window mat and primary backing board should be the same size and fit the frame with about 1/16 to 1/8 inch of wiggle room total. Four-ply mat board works for most portraits, but if your portrait is large or has any texture (like a canvas print or watercolor), go thicker. You can laminate two or more layers of mat board to create a deeper window mat, which keeps the glass well clear of the portrait surface.
Step 1
Measure and cut the mat
Measure your portrait and decide on the mat width — 2 to 3 inches on all sides is standard, but go wider for larger portraits. Cut the window mat and backing board to the same outer dimensions, with the window opening sized so the mat overlaps the portrait edge by about 1/4 inch on all sides.
Step 2
Attach the portrait to the backing
Never glue or tape the portrait directly to the backing board. Use archival hinges made from Japanese kozo paper and starch-based paste, or use a non-adhesive mounting system like photo corners. The portrait should be able to move slightly with changes in humidity — if it is locked down tight, it will buckle.
Step 3
Hinge the mat to the backing
Lay the window mat face-down, align the backing board next to it, and attach them along one long edge with gummed linen tape. When you fold the mat over the backing, the portrait should be centered in the window with even borders.
Select the Moulding
The frame moulding is the border that holds everything together. Wood frames are classic, but wood can release acidic gases over time that damage paper. If you are using a wooden frame, make sure the inside edge (the rabbet) is at least an inch away from the portrait on all sides, or line the rabbet with polyester film or archival sealing tape to create a barrier.
Metal frames and composite frames are safer options and tend to be lighter, which matters if you are hanging a large portrait. The frame should be deep enough to accommodate the mat package, the glass, and a secondary backing board with a little room to spare. If the frame back sits flush against the wall, add small rubber bumpers to create an air gap — this prevents moisture buildup.
Choose the Glass
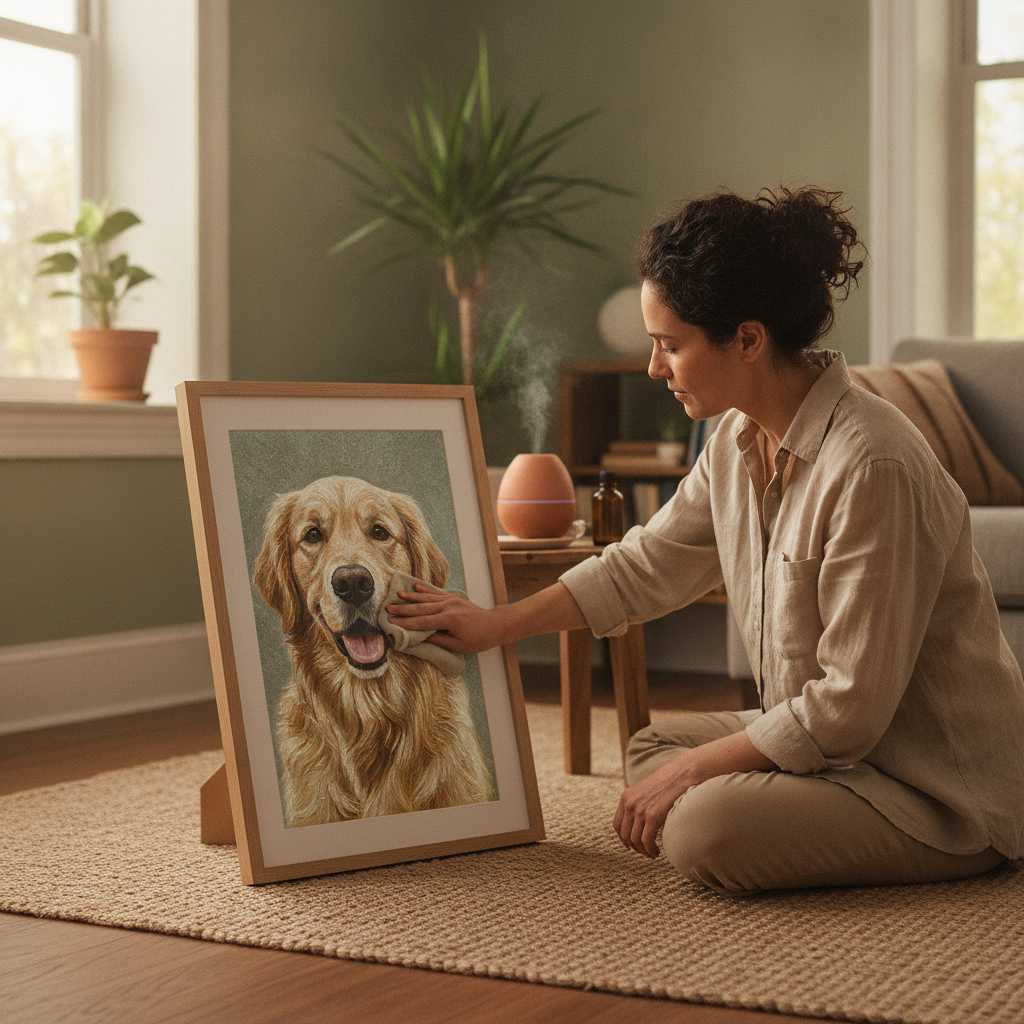
Glass protects the portrait from dust, dirt, and fingerprints. It also keeps the surface from getting touched, which is especially important if you have kids or curious guests. The glass should never touch the portrait — that is what the mat is for.
UV-filtering glass is worth the extra cost if the portrait will hang in a room with natural light. Regular glass lets through ultraviolet radiation, which fades colors and yellows paper over time. UV-filtering glass blocks most of that damage. Acrylic glazing is lighter and less likely to shatter, but it carries a static charge that can pull loose media like pastel or charcoal right off the portrait surface. Stick with glass unless weight is a serious concern.
Step 4
Assemble the frame package
Place the glass in the frame first, then the mat package with the portrait attached, then a secondary backing board (archival corrugated board or Coroplast work well). The secondary backing provides physical protection and insulation. Seal the back of the frame with kraft paper or archival tape to keep dust out.
Add a Vapor Barrier (Optional but Smart)
If you live in a humid climate or the portrait will hang on an exterior wall, consider adding a vapor barrier. Place a sheet of Marvelseal, polyester film, or Coroplast between the mat package and the secondary backing, or over the entire back of the frame. This creates a microclimate inside the frame that protects the portrait from humidity swings and environmental pollutants.
For even more protection, you can create a sealed package by taping the edges of the mat package, glass, and vapor-barrier backing together with archival sealing tape before placing the whole unit in the frame. This is overkill for most situations, but it is the standard for museum-quality framing.
If you are looking for Renaissance and classical pet portraits or another formal style, proper framing is what makes the piece look like it belongs in a gallery rather than a big-box frame shop.
Tips and Tricks for the Perfect Frame
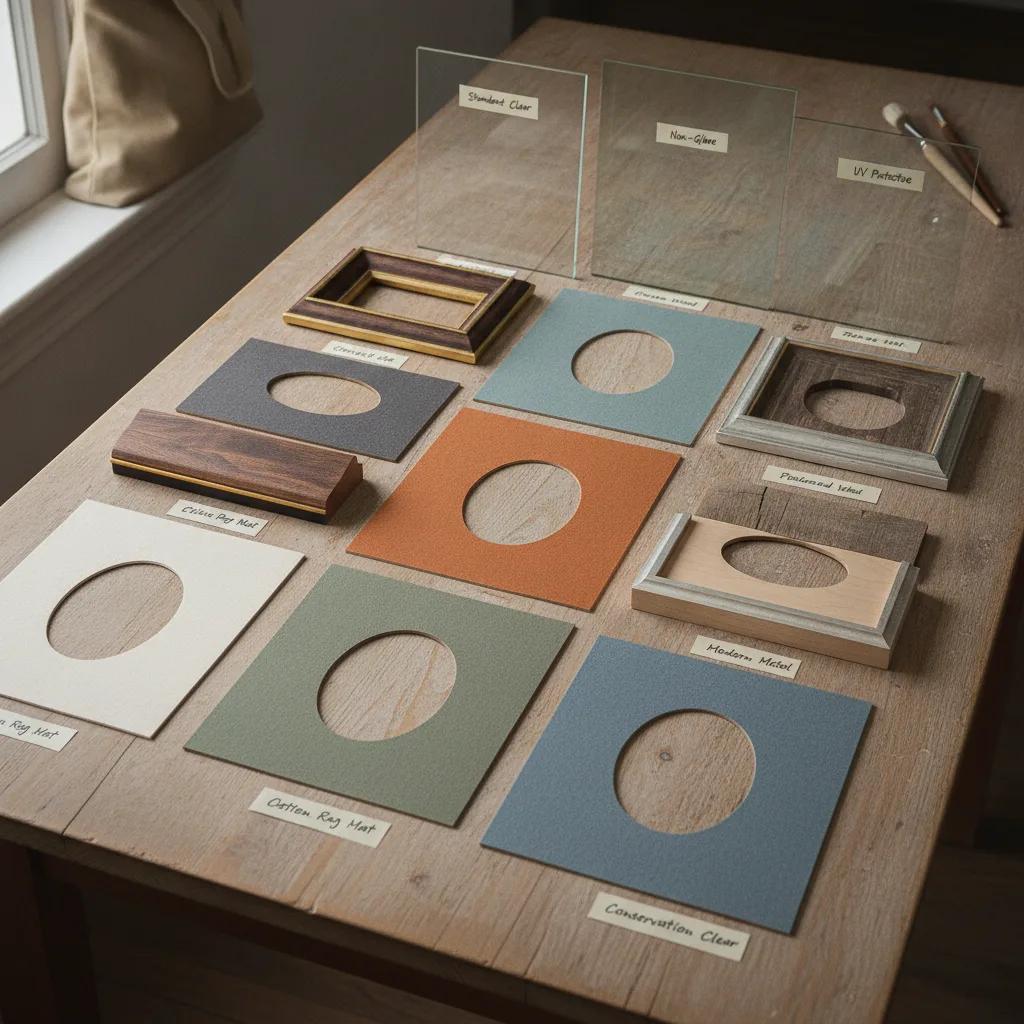
Here is the thing: the difference between a frame that looks expensive and one that looks cheap is almost never the price — it is the details. You can spend a fortune on custom moulding and still end up with a portrait that feels off if the mat is too thin or the glass catches glare at the wrong angle. Trust me on this: the little details that sell it are the ones most people skip.
Give Your Portrait Room to Breathe
Your mat should be thick enough to keep the portrait away from the glass. Four-ply board works for most pieces, but if your portrait is large or has any texture, go thicker. Deeper mats can be made by layering multiple boards together, and that extra depth keeps everything safe and looking intentional. The window mat and backing board should fit the frame with about 1/16 to 1/8 inch of wiggle room — not tight, not loose.
If you are framing a regal pet portrait or something with a lot of visual weight, a wider mat border helps. It gives the eye somewhere to rest and makes the portrait feel like it belongs in a gallery, not a discount bin.
Match the Moulding to the Era You Choose
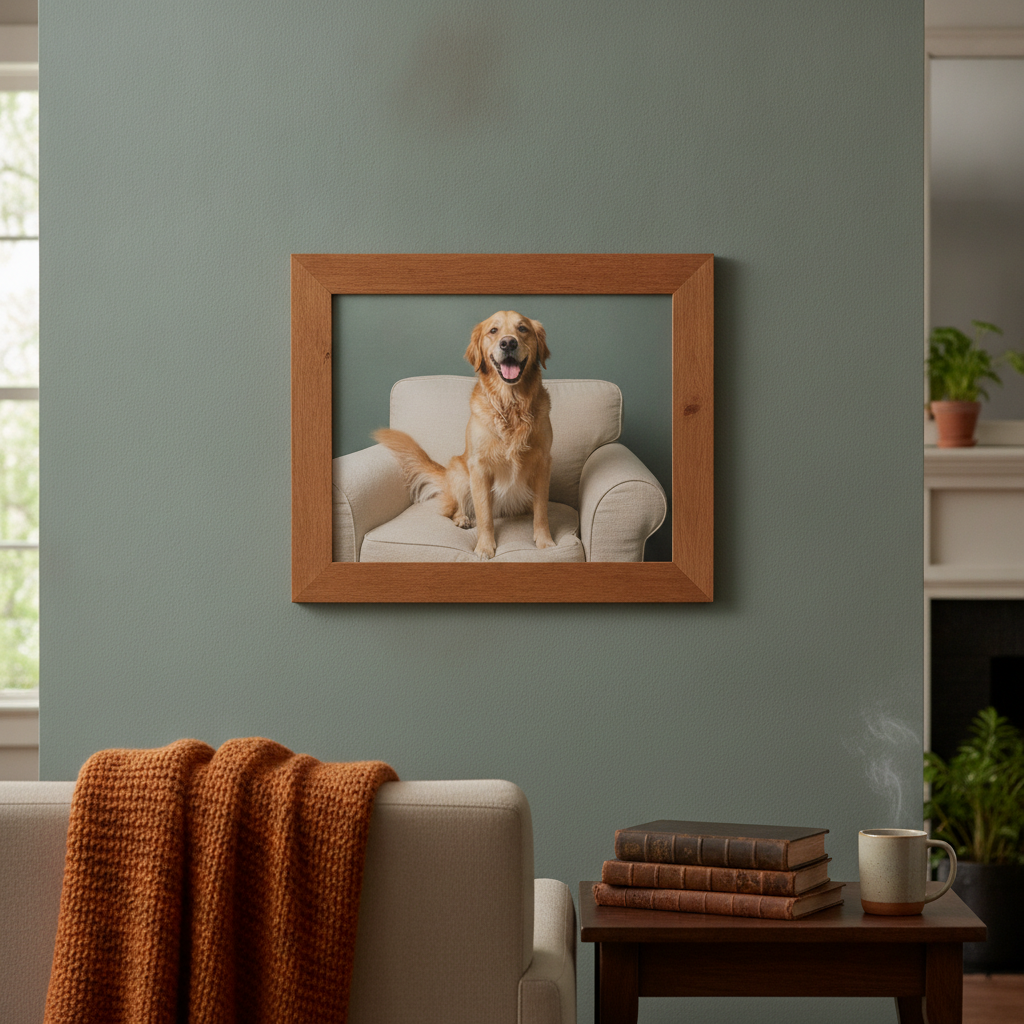
The frame should echo the style of the portrait, not fight it. A Renaissance-style portrait looks right in a wide, ornate moulding with a deep profile. A clean, modern watercolor portrait wants something simple — thin moulding, maybe a floating frame. The moulding is not decoration; it is context. It tells the viewer how seriously to take the piece.
Avoid anything that off-gases or damages the edges of the portrait over time. Wooden frames are classic, but if the wood touches the portrait directly, line the inside edge with a barrier — polyester film or archival tape works. Better yet, keep the portrait at least a quarter inch away from the frame's interior edge.
Get the Glass Right
UV-filtering glass is worth it if the portrait will hang anywhere with natural light. Standard glass lets ultraviolet radiation fade the colors over time, and you will not notice until it is too late. Acrylic glazing is lighter and safer to ship, but it carries a static charge — skip it if your portrait has any loose media like pastel or charcoal. For those, stick with UV-filtering glass.
The glazing should never touch the portrait. That is what the mat is for. If moisture condenses on the inside of the glass, anything in contact can stick or warp. Keep them separated, always.
The cheapest mistake is the one you see every day on your wall — get the materials right the first time.
Seal the Back and Hang It Securely
The back of the frame matters more than most people think. Use archival backing boards — never foam board or kraft paper. A secondary layer of archival corrugated board or Coroplast adds protection, and sealing the edges with archival tape keeps dust and humidity out. If you are hanging the portrait on an exterior wall, add a moisture barrier to the back.
Hang the frame so its back is slightly recessed from the wall — small rubber bumpers or push pins work. This lets air circulate and keeps moisture from building up between the frame and the wall. Avoid damp spots, uninsulated walls, or anywhere the frame will sit flush against cold surfaces.
What Materials Should I Use to Frame a Pet Portrait?
Use 100% cotton rag mat board, UV-filtering glass, and archival backing materials. Avoid foam board, acidic mats, and direct wood-to-portrait contact. These materials protect the portrait from fading, warping, and chemical damage over decades.
How Do I Choose the Right Frame Style?
Match the frame to the portrait's era and mood. Victorian pet portraits suit ornate moulding, while modern portraits need clean lines. The frame should support the portrait's style, not compete with it.
When in Doubt, Ask Someone Who Knows
If you are not sure which materials to use or how thick the mat should be, find a framer who understands conservation-grade work. The right framer will know the difference between archival-quality materials and the ones that just say "archival" on the label. Ask what they use for backing boards, what kind of tape they use to hinge the portrait, and whether the moulding will be lined. If they cannot answer those questions, keep looking.
You want someone who treats your portrait like it is worth hanging — because it is.
Conclusion
Here is the thing: framing a pet portrait is not about perfection. It is about protecting something you love and giving it a place on the wall that does it justice. You have picked the mats, chosen the moulding, and figured out the glass — now it is time to put it all together and see what you have been working toward.
The portrait you hang today will be the one you walk past for years. It will be the one guests notice, the one that makes you smile when you catch it out of the corner of your eye. That is worth getting right. If you are still deciding on the portrait itself, turn your pet photo into art and explore the styles that suit your space best.
You do not need a professional framer to make this work, but you do need to care about the details. Use 100% cotton rag mat board, keep the portrait away from the glass, and choose a moulding that complements the era and the mood of the piece. Those three things will carry you most of the way.
The portrait is already done. The frame is just the final step — and you are ready for it.
Learn how to frame a pet portrait with the right mats, moulding, and glass for a stunning finish.