
Introduction
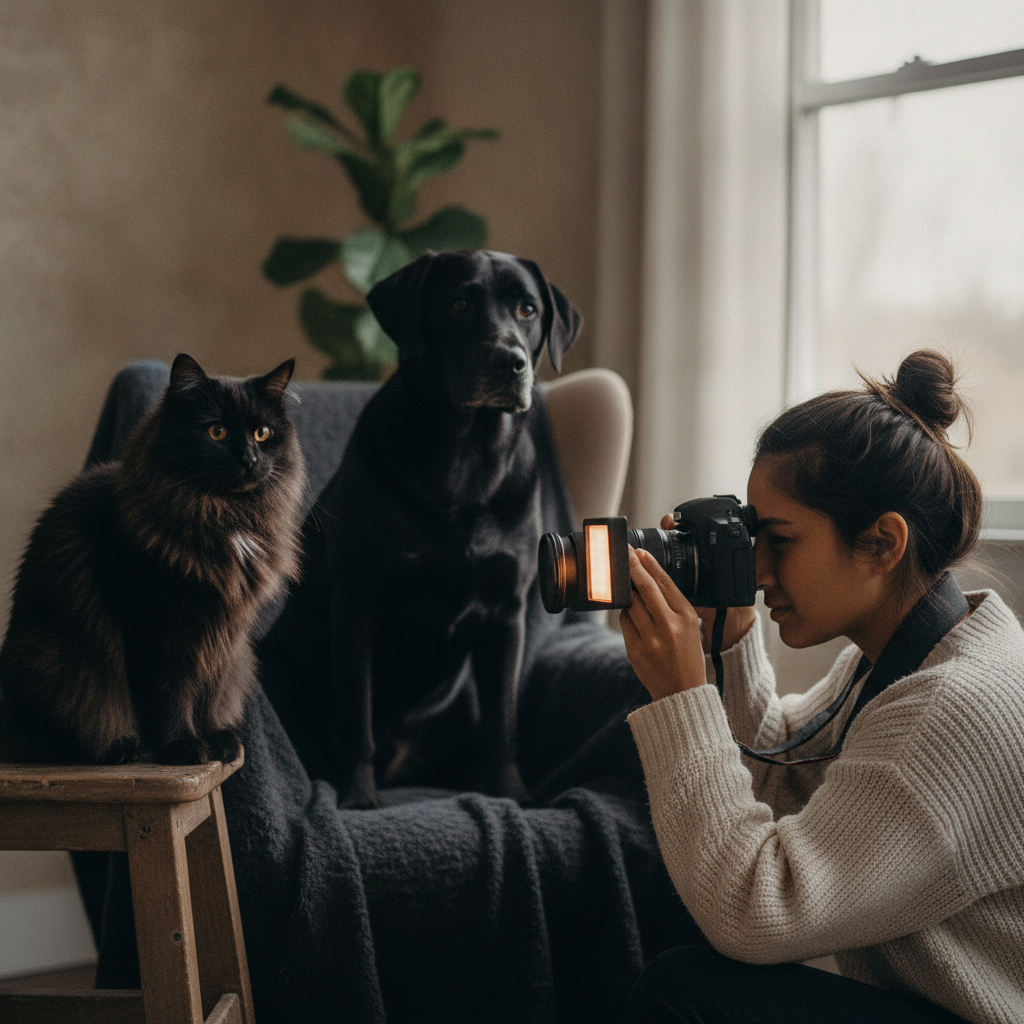
Photographing black dogs and cats is a common challenge for pet owners who want to capture their companion's true personality. Black fur absorbs light instead of reflecting it, making it difficult for cameras to record the detail, texture, and expression that make each pet unique. The result is often a featureless silhouette or an overexposed background where your pet should be the star.
The solution lies in understanding how light interacts with dark fur and making small adjustments to your setup. Good light does most of the work — soft, directional illumination reveals the glint in their eye, the texture of their coat, and the expression that makes them them. The rest is knowing a few tricks that keep detail from vanishing into the void.
This guide walks you through the specific steps that turn a frustrating shoot into a portrait worth framing. By the end you will know exactly which light to use, how to set up the shot, and which mistakes to skip. No studio required. Just you, your pet, and a little bit of strategy.
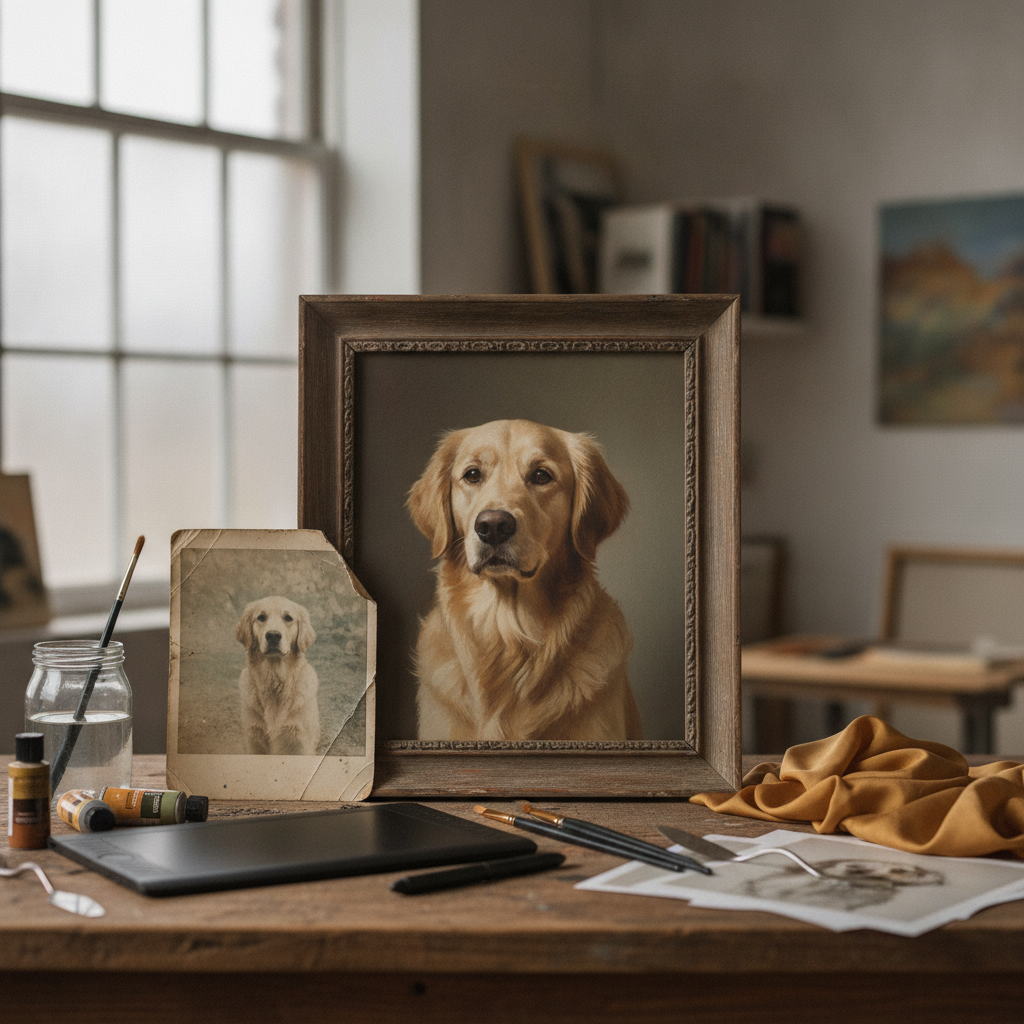
If you are planning to turn your pet photo into art, starting with a well-lit, detailed shot makes all the difference — especially when working with black fur that can lose definition in the wrong conditions.
Understanding the Challenges of Photographing Black Pets
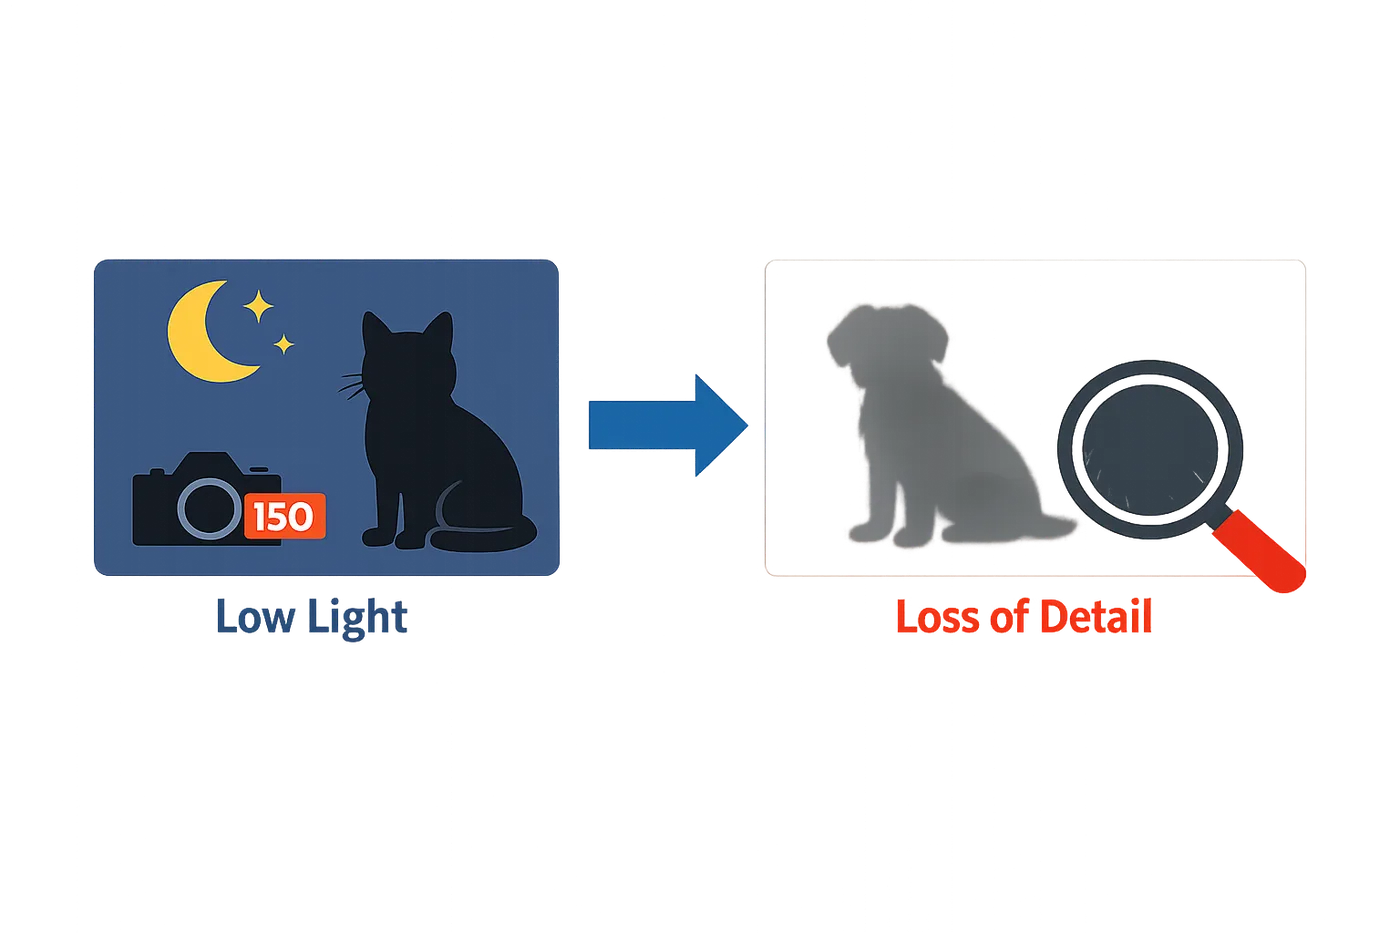
Here is the thing about black dogs and cats: your phone camera does not see them the way you do. What looks like a glossy, expressive face to your eye turns into a dark blob on screen — all the little details that make them them just disappear. The camera reads all that black fur as one flat shadow, and suddenly you have lost their eyes, their expression, the texture of their coat. It is frustrating, and it is the number one complaint I hear.
The problem is how light interacts with dark fur and your camera lens. Black absorbs light instead of reflecting it back, so your camera struggles to find contrast and detail. In low light or mixed lighting, the camera either underexposes the whole frame to try to capture the background, leaving your pet as a silhouette, or it overexposes everything else while your pet stays dark. Either way, you lose the shot.
Why Your Camera Sees a Shadow Instead of a Face
Your phone's auto-exposure is designed for average scenes — a mix of light and dark tones. A black dog or cat throws that calculation off. The camera meters for the brighter parts of the frame (the background, your couch, the window light), and your pet ends up underexposed. You can see their outline, but their face is a mystery. Eyes, nose, whiskers — gone.
This is the part people skip: you have to tell the camera what to prioritize. Tap your pet's face on your phone screen before you shoot. That forces the camera to expose for them, not the room. It is a small move, but it changes everything.
The Background Problem
A busy or high-contrast background makes things worse. If your black cat is sitting in front of a white wall or a bright window, the camera sees that big bright area and darkens the whole image to compensate. Your cat becomes a shadow. The same thing happens with cluttered backgrounds — patterned rugs, busy furniture, anything that competes for the camera's attention.
You want a neutral, low-contrast background that lets your pet be the main event. A soft gray wall, a muted blanket, even a patch of grass — something that does not fight with all that dark fur. Let the photo breathe.
Light Direction and Texture
The direction of light matters more with black pets than with any other subject. Front light (light coming from behind you, hitting your pet's face) flattens everything. Side light or slightly angled light creates shadows and highlights that show off the texture of their coat, the shape of their ears, the glint in their eyes. That is what makes the photo feel three-dimensional instead of flat.
Good light does most of the work. If you are shooting indoors, position your pet near a window with soft, indirect light — not harsh midday sun. Outdoors, aim for the golden hour or overcast days. The softer the light, the more detail you will see in that black fur.
The camera reads all that black fur as one flat shadow — you have to show it where to look.
How Do You Photograph Black Dogs and Cats Without Losing Detail?
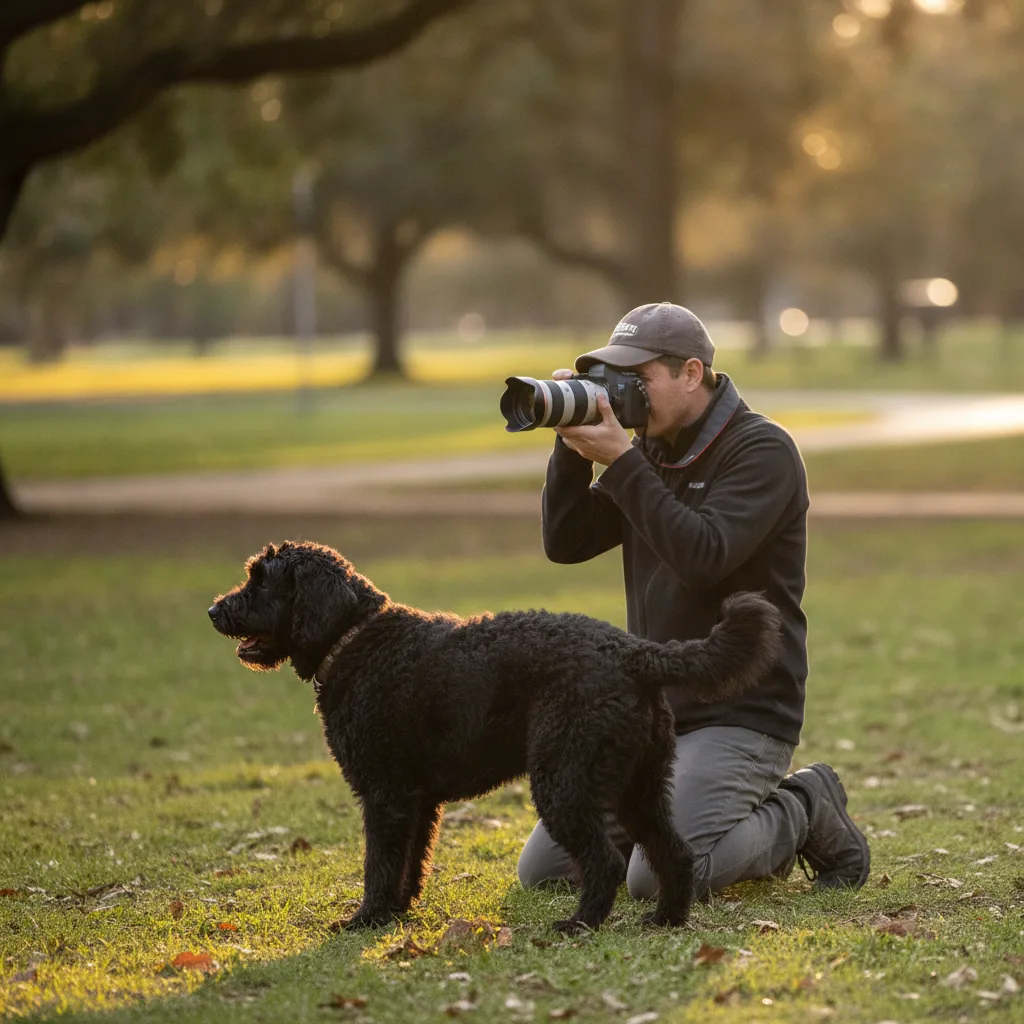
Here is the thing: photographing black dogs and cats is not about fighting the dark fur — it is about working with it. The steps below will get you photos where you can actually see their face, not just a silhouette with eyes.
Step 1: Choose Natural Light Over Indoor Lighting
Step 1
Find the right light source
Take your photos outside or position your pet near a large window. Black fur picks up the color of whatever light hits it — indoor bulbs turn them muddy yellow or flat gray. Natural light keeps the blacks rich and the details visible. Morning or late afternoon works best; midday sun can be too harsh and blow out the contrast you are trying to preserve.
If you are stuck indoors, a north-facing window gives you soft, even light without the glare. Trust me on this: the difference between window light and overhead ceiling light is the difference between a portrait worth hanging and one you delete immediately.
Step 2: Position Your Pet in Relation to the Light
Step 2
Experiment with angles
Move your dog or cat so the light falls directly onto their face — not behind them, not straight overhead. You want the light to hit their eyes and the front of their muzzle. This is the part people skip, and it is why half their photos look like a shadow with a collar. Walk around your pet, crouch down, stand up — the angle that makes their eyes sparkle is the one you keep.
For curly-coated or fluffy black dogs, direct light on the face brings out texture in the fur and makes their eyes the focal point. If the light is behind them, you will get a beautiful halo effect but lose all the detail in their expression.
Step 3: Select a Neutral, Low-Contrast Background
Step 3
Keep the background simple
Aim for a background that does not compete with your pet — neutral tones, soft colors, nothing too bright. A bright white wall or a sunny patch of grass can trick your camera into underexposing the black fur, turning your dog into a dark blob. A medium-toned background — think soft gray, muted green, warm beige — lets the camera expose for your pet instead of the surroundings.
Step 4: Get Down to Their Eye Level
Shooting from above flattens the image and hides the details you are trying to capture. Crouch, sit, or lie down so your camera is at their eye level. This angle shows the dimension in their face, the light in their eyes, and the personality that makes the photo feel like them. It does not have to be perfect — even a slight drop in your shooting height makes a noticeable difference.
Step 5: Try Silhouette Photography (Optional)
If you want something a little more dramatic, position your black dog or cat directly in front of a bright light source — a sunset, a large window, a doorway. The goal here is not detail; it is shape and mood. Silhouettes work beautifully for black pets because the dark fur becomes the subject, not the problem. This technique will not give you a Renaissance pet portrait, but it will give you something striking and worth framing.
Tips and Tricks for Capturing the Best Shots
Here is the thing about photographing black dogs and cats: the little details that sell it are the ones most people skip. Good light does most of the work, but there are a few other tricks that make the difference between a photo you delete and one worth hanging.
Use Natural Light and Experiment With Position
Take photos outside or use natural light from a window — black fur will take on the color of the light in the room, so artificial indoor lighting can turn your dog muddy or flat. Move your pet around in relation to the light source and watch how the shadows change. Sometimes a step to the left is all it takes to bring out the texture in their coat.
Choose a Neutral, Low-Contrast Background
Pay attention to the background of your photoshoot. Aim for a neutral, low-contrast background that is free from clutter and allows your pet to be the main focus. A busy or high-contrast background competes with your subject and makes it harder to see the detail in their face and fur. A plain wall, a patch of grass, or a simple blanket works better than a patterned rug or a cluttered room.
Catch Them in a Relaxed Posture
A relaxed cat with a natural body posture — standing with an upright tail, lying down with an exposed belly, or sitting with their tail held loosely — is easier to photograph without losing detail. Tense animals flatten their ears, tuck their bodies, and generally make themselves harder to capture. Wait for the moment when they are calm and comfortable. You will know it when you see it.
The shot that actually works is the one where your pet looks like themselves — not stressed, not performing, just there.
Let the Photo Breathe
Do not crop too tight. Leave a little space around your pet so the portrait does not feel cramped. This is especially important if you are planning to turn your pet photo into art — painters and digital artists need room to work, and a photo that is cropped right to the edges of the subject gives them nothing to adjust. If you want a regal pet portrait or Victorian-style artwork, the source photo needs breathing room.
Shoot at Their Eye Level
Get down to their eye level instead of shooting from above. A photo taken from your standing height makes your dog or cat look small and flattened. At their eye level, you get their expression, their personality, and the detail in their eyes — the part that makes the portrait feel like them.
Frequently asked questions
What camera settings work best for photographing black dogs and cats?
Use your camera's spot metering mode and tap on your pet's face to expose for the dark fur rather than the background. If shooting manually, increase exposure compensation by +1 to +2 stops to prevent underexposure. A wider aperture (f/2.8 to f/5.6) helps separate your pet from the background and creates a shallow depth of field that highlights their eyes.
Why do my black pet photos always look like silhouettes?
Your camera's auto-exposure is metering for the entire scene, which often includes bright backgrounds or light sources. The camera darkens the image to prevent overexposure in those bright areas, turning your black pet into a shadow. Tap your pet's face on your phone screen before shooting, or use spot metering to tell the camera to expose for the dark fur instead.
Can I photograph black dogs and cats indoors successfully?
Yes, but you need the right light source. Position your pet near a large window with soft, indirect natural light — avoid overhead artificial lighting, which creates muddy tones and harsh shadows. North-facing windows provide consistent, even light throughout the day. If natural light is not available, use a diffused lamp positioned at an angle to create dimension in the fur.
What background color works best for black pet photography?
Neutral, medium-toned backgrounds work best: soft gray, muted green, warm beige, or light brown. Avoid bright white or very dark backgrounds, which create high contrast and confuse your camera's metering. A simple, uncluttered background keeps the focus on your pet and makes it easier for the camera to expose the black fur correctly.
Conclusion
Here is the thing about photographing black dogs and cats: it is not harder, it just asks you to do the opposite of what feels automatic. You have been trained to point and shoot. Black fur says no — you have to slow down, move the light source, and let your pet do what they already do well, which is be themselves in good light.
The photos you will keep are the ones where you can see their eyes, where the texture of their coat shows up, and where they look like the animal you know. That means natural light at their eye level, a background that does not fight them, and enough patience to let them settle. No studio required. Your phone and a window will get you 90 percent of the way there if you remember that good light does most of the work.
Once you have that shot — the one you keep coming back to — you have something worth hanging. A custom portrait turned into art starts with a photo that already feels like them, and black pets are no exception. The little details that sell it are all in the original image: the glint in their eye, the way their ear catches the light, the expression that made you grab your phone in the first place. If you are curious about how long a custom painting takes or the difference between AI portraits and hand-painted portraits, those decisions start with a strong source photo.
Trust me on this: the next time your black dog or cat is sitting in a patch of afternoon sun, try it. Move yourself, not them. Let the photo breathe. You will know it when you see it.
Learn tips for photographing a black dog or black cat without losing detail. Capture their beauty with the right lighting and techniques.
Table of Contents
- Introduction — Introduce the challenges and joys of photographing black pets.
- Understanding the Challenges of Photographing Black Pets — Discuss the specific issues photographers face when capturing black pets.
- How Do You Photograph Black Dogs and Cats Without Losing Detail? — Provide actionable steps to enhance photography of black pets, focusing on lighting and angles.
- Tips and Tricks for Capturing the Best Shots — Share expert tips to improve the quality of photos taken of black pets.
- FAQ — Answer common questions about photographing black dogs and cats.
- Conclusion — Summarize the main points and encourage readers to practice their photography skills.
- Table of Contents