
Introduction
Here is the thing about pet portraits: the size you choose changes everything. A small 8x10 print can feel intimate and personal on a hallway gallery wall, but the same portrait blown up to 24x36 becomes a statement piece that anchors an entire living room. Get the size wrong and the portrait either disappears into the background or dominates the space in a way that feels off.
The photo everyone gets wrong is the one they love on their phone. That close crop of your dog's face might be perfect at arm's length on a screen, but printed at 16x20 and hung above the sofa, it can feel too tight, too intense, or just not quite right for the room. The size you pick is not just about the portrait itself — it is about the wall, the room, and how the portrait will live in your home.
By the end of this you will know exactly how to match your pet portrait style to the right dimensions for each space. You will understand which sizes work for which rooms, how to measure your wall before you commit, and how to avoid the most common sizing mistakes that make an otherwise beautiful portrait feel like it does not belong.
The right pet portrait style should keep the animal recognizable while creating artwork that suits the owner's taste and home decor. That balance starts with size — because no matter how well the portrait is painted, if it is the wrong size for the space, it will never look like it belongs.
Understanding the Problem of Sizing
Here is the thing about choosing a pet portrait size: most people pick one that feels safe, then spend the next year wishing they had gone bigger. Or they go huge on impulse and end up with a portrait that swallows the wall and makes the room feel off. Neither one is what you want hanging above your couch.
The mistake is not about the portrait itself — it is about skipping the step where you measure the wall, consider what else is in the room, and think about how close you will be standing when you look at it. A portrait that works beautifully in a gallery-wall cluster will disappear if you hang it solo on a twelve-foot living room wall. And a statement piece that anchors an entryway will overpower a narrow hallway.
Why Size Affects the Whole Room
A portrait is not just art — it sets the tone for everything around it. Too small, and it looks like an afterthought. Too large, and it competes with the furniture, the windows, and every other thing you are trying to keep in the room. The right size lets the portrait breathe and keeps the space balanced.
This is the part people skip: thinking about the wall as a frame. If your wall is mostly empty, a smaller portrait will feel lost. If the wall already holds shelves, a window, or other art, a large portrait will crowd it. The portrait needs to fit the architecture, not just your budget.
The Three Mistakes Everyone Makes
First mistake: choosing a size based on what fits in the frame you already own. The frame should serve the portrait and the wall, not the other way around. If the portrait matters enough to hang, it matters enough to frame correctly.
Second mistake: ordering the smallest size to save money, then realizing it does not have the presence you wanted. Smaller portraits work beautifully in tight spaces or as part of a group, but they rarely work as solo statement pieces. If you want your pet in a regal portrait to anchor a room, go bigger than feels comfortable at first — that discomfort usually means you are in the right range.
Third mistake: ignoring the room's proportions. A portrait hung at eye level in a room with ten-foot ceilings will look different than the same portrait in a room with eight-foot ceilings. Ceiling height, furniture scale, and sight lines all affect how a portrait reads in the space.
The cheapest portrait is the one you hang once and never move — because you got the size right the first time.
When you are standing in front of the wall where the portrait will go, ask yourself: does this size make sense for how I use this room? A dining room where you sit and linger can handle a larger, more detailed portrait. A hallway where you walk past quickly works better with something smaller and simpler. The room tells you what it needs if you listen.
How Do You Choose the Right Pet Portrait Size?
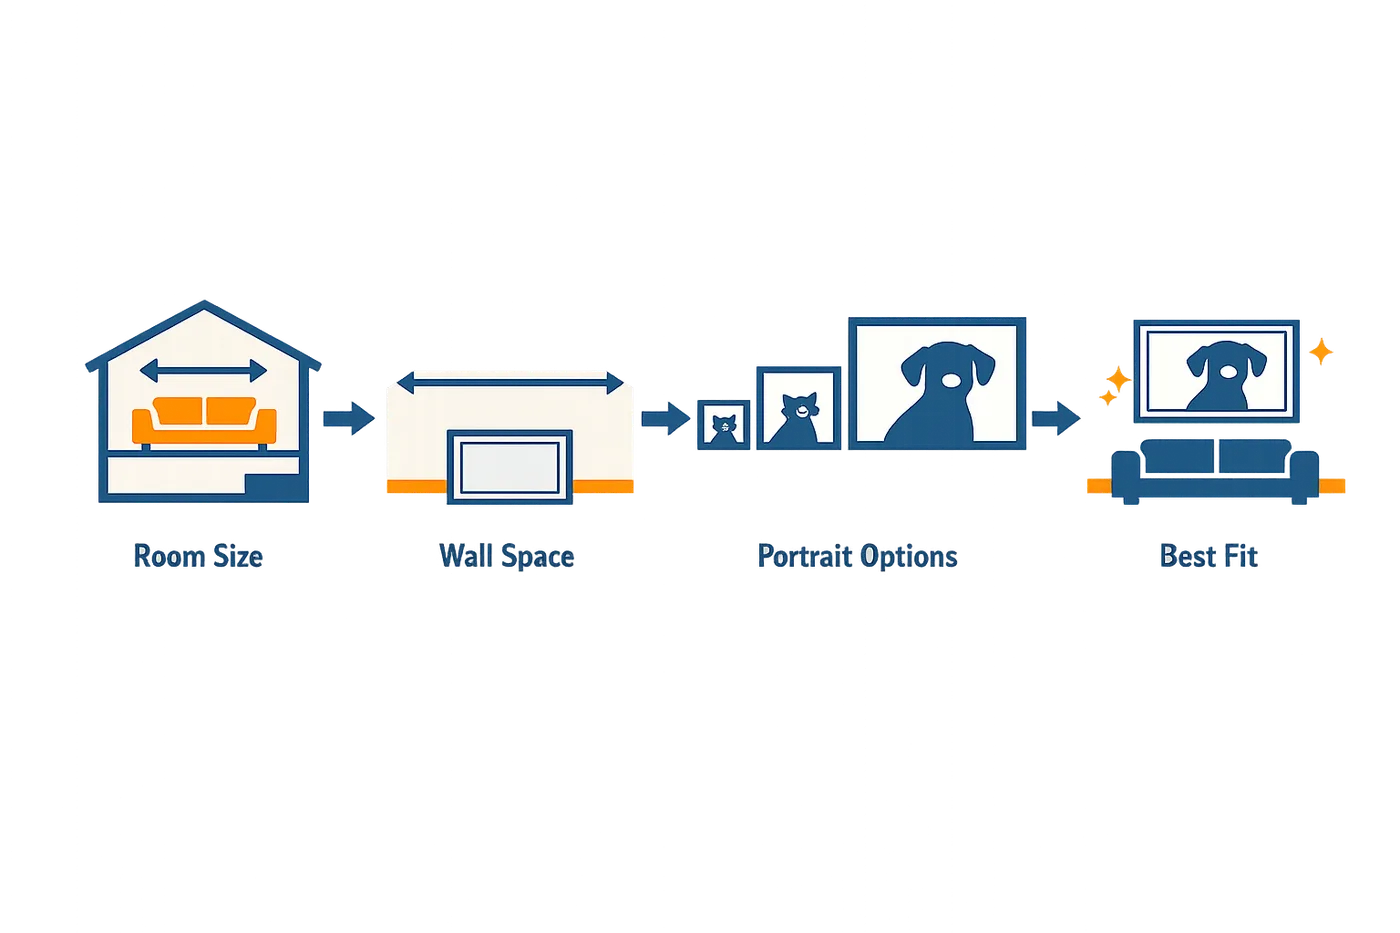
Here is the thing: the right pet portrait size is not about the portrait — it is about the wall. You can have the most beautiful painting in the world, but if it is too small for the space or so big it crowds the furniture, it will feel off every time you walk past it. Let me walk you through the process I use to get it right.
Measure the Wall Space First
Start by measuring the width of the wall or the section where the portrait will hang. Use a tape measure and write down the number — do not guess. If the portrait is going above a piece of furniture (a couch, console table, or bed), measure that furniture width too. The portrait should be roughly two-thirds to three-quarters the width of the furniture below it. Any smaller and it floats, any bigger and it overpowers the piece.
Step 1
Measure your wall or furniture
Use a tape measure to record the width of the wall section or the furniture the portrait will hang above. Write it down. If you are working with a couch that is 72 inches wide, your portrait should land somewhere between 48 and 54 inches wide.
Step 2
Consider viewing distance
Step back to where you will usually see the portrait — from the doorway, from the couch, across the room. A portrait that will be viewed from 8 to 10 feet away needs to be larger than one you will see up close in a hallway. Viewing distance determines how much detail you can appreciate and how much presence the piece needs to hold the space.
Match the Portrait to the Room's Scale
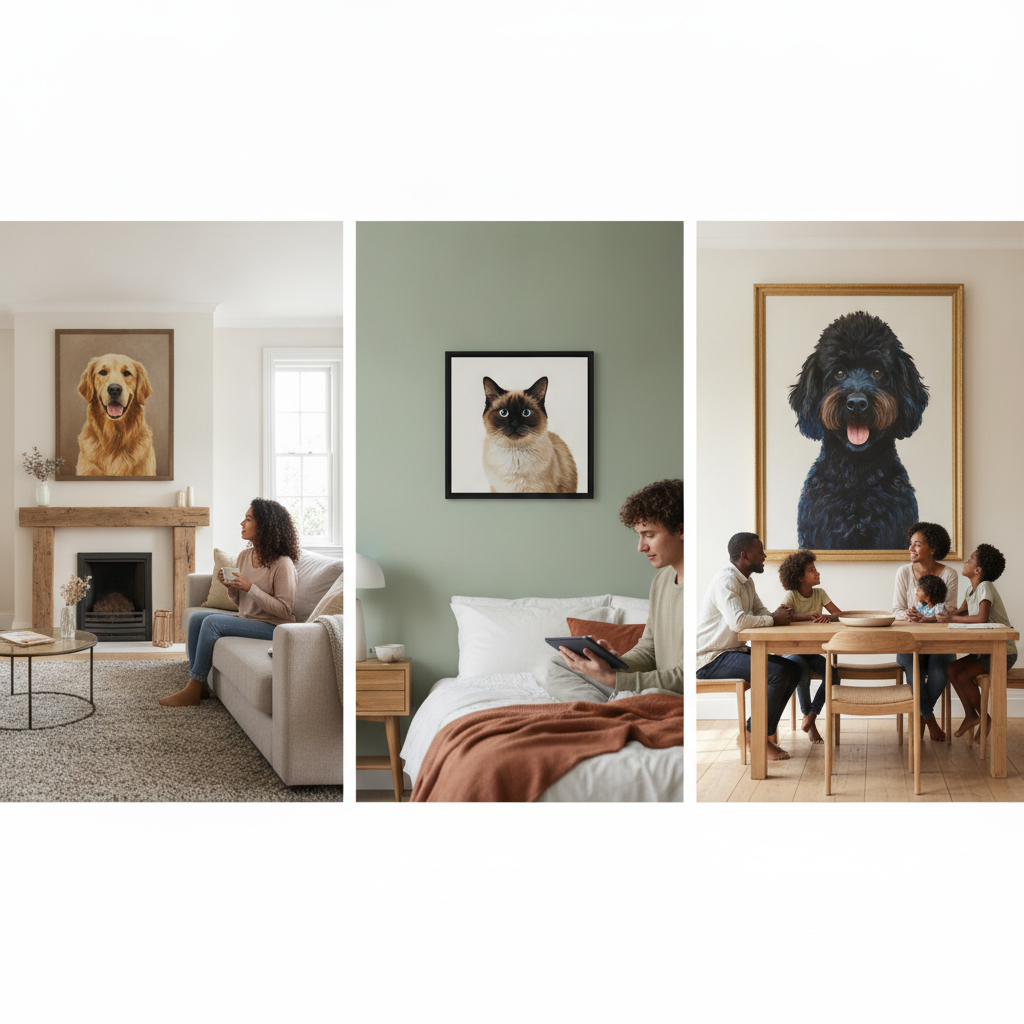
Small rooms and tight spaces do better with smaller portraits — an 8x10 or 11x14 works in a hallway, bathroom, or small bedroom. Medium-sized rooms (living rooms, dining rooms, primary bedrooms) can handle 16x20 to 24x30. Large, open spaces with high ceilings need bigger pieces — 30x40 or larger — to avoid looking like an afterthought on the wall.
If you are choosing a portrait style like Renaissance and classical pet portraits, the ornate framing and rich detail often benefit from a larger canvas where the composition can breathe.
Step 3
Test the size before you commit
Cut a piece of paper or cardboard to the dimensions you are considering and tape it to the wall. Live with it for a day or two. You will know immediately if it feels right or if you need to adjust. This is the part people skip, and it is the easiest way to avoid buyer's remorse.
Factor in the Frame and Matting
The frame adds width and height — typically 2 to 4 inches on each side depending on the frame style. If you are planning to mat the portrait, add another 2 to 3 inches per side. A 16x20 portrait in a 3-inch frame with a 2-inch mat becomes roughly 26x30 overall. Measure for the final framed size, not just the canvas.
Step 4
Account for frame and mat dimensions
Add 4 to 8 inches to your portrait dimensions to estimate the final framed size. Measure your wall space against that number, not the bare canvas size. The frame is part of the composition — it takes up real estate on the wall.
Choose Based on How You Will Use the Photo
If this is a gift or a memorial piece, smaller sizes (12x16 or less) are easier to wrap, ship, and place without requiring the recipient to rearrange their home. For a statement piece in your own space — something you want people to notice when they walk in — go bigger. The portrait should command attention without crowding out everything else in the room.
The portrait should feel like it belongs in the room, not like it is visiting.
Trust me on this: the photo everyone gets wrong is the one they choose based on what looks good on their phone screen. A tight crop of your dog's face might be perfect at 8x10, but blown up to 30x40 it can feel claustrophobic. If you are going large, pick a photo with a little breathing room — some background, some context, enough space around your pet that the composition does not feel jammed into the frame.
Tips and Tricks for Perfectly Sized Portraits
Here is the thing about choosing the right pet portrait size: the technical math gets you close, but a few small decisions turn close into perfect. These are the details that make a portrait feel like it belongs on that wall instead of looking like you guessed.
Start with a Sharp, High-Resolution Photo
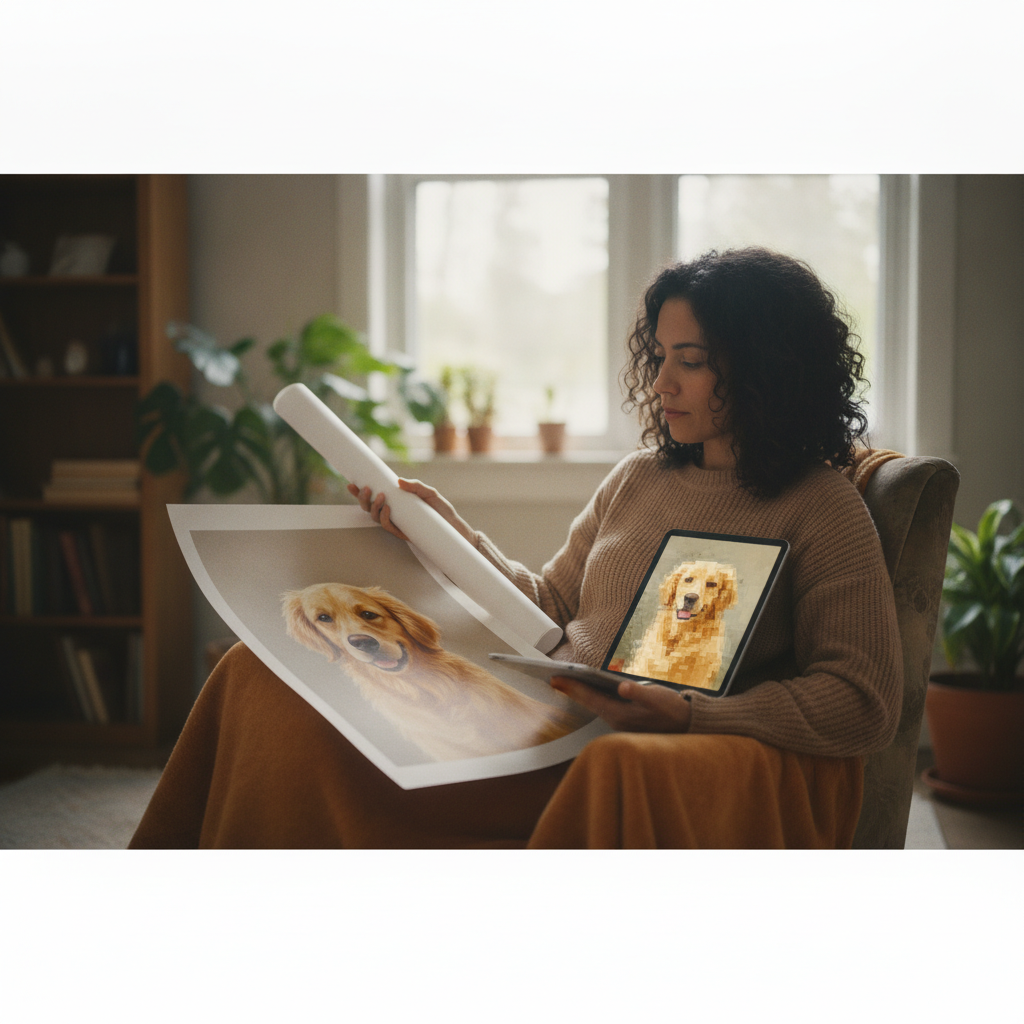
The photo you choose determines how large you can go without the portrait looking soft or pixelated. A sharp, high-resolution image gives you flexibility — you can print it bigger, crop it tighter, and still keep the detail that makes your pet look like your pet. Blurry photos limit your options and force you into smaller sizes where the softness is less obvious.
If you are working from a phone photo, make sure it was taken in good light and that your pet's face is in focus. Natural light does most of the work here — photos taken outdoors or near a window during the day capture the clearest colors and avoid harsh shadows that flatten your pet's features.
Let the Portrait Breathe
Once you have chosen your pet portrait size, give it space. A portrait crammed into a tight corner or surrounded by clutter loses impact. Leave at least a few inches of breathing room on all sides — empty wall space is not wasted space, it lets the eye settle on the portrait itself.
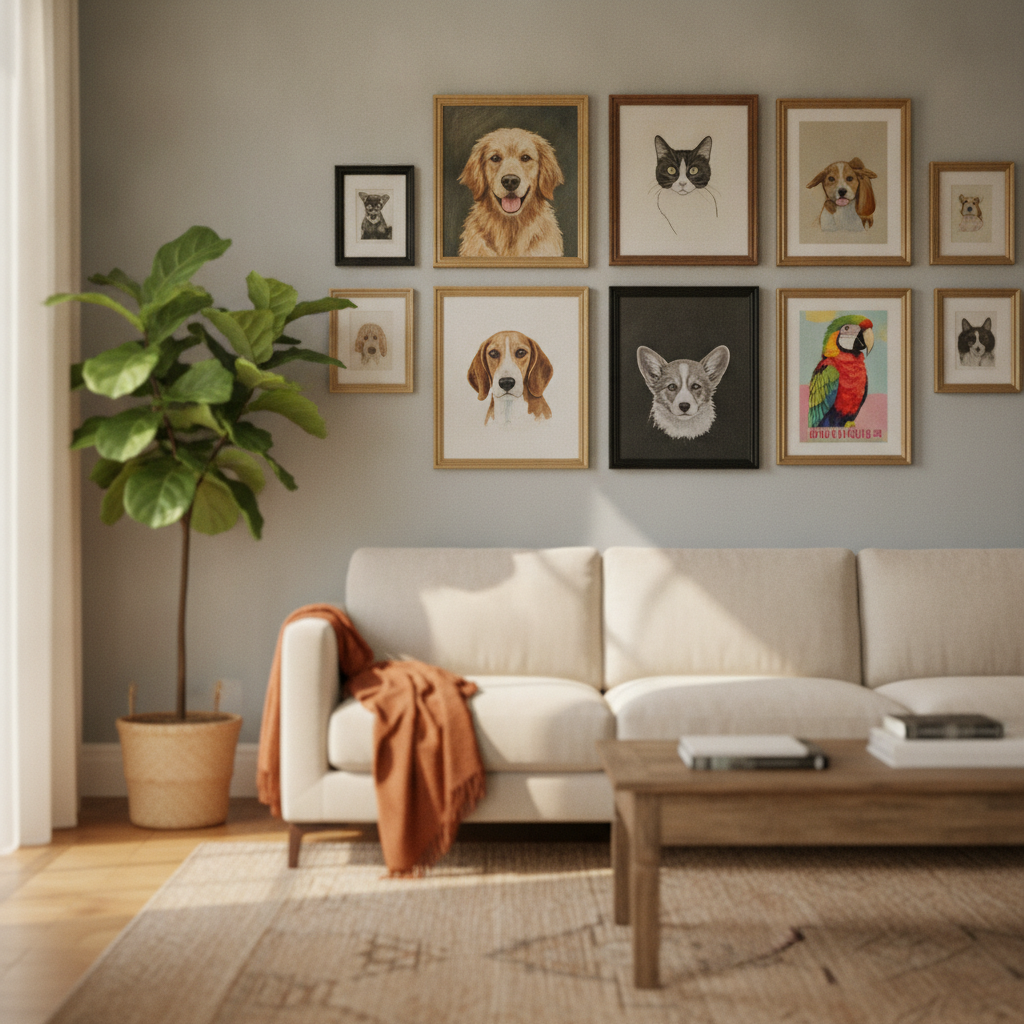
If you are building a gallery wall, treat the pet portrait as the anchor piece. Arrange smaller frames around it, but keep them visually lighter — thinner frames, simpler subjects. The portrait should be the one you keep coming back to when you walk past.
Hang It at Their Eye Level
This is the part people skip, and it makes a bigger difference than you think. Hang the portrait so the center of the image is roughly at your eye level when you are standing — that is around 57 to 60 inches from the floor for most people. If the portrait is going above a sofa or console table, the bottom edge should sit 6 to 12 inches above the furniture.
For pet portraits specifically, centering the image at eye level keeps your pet in the room with you. It does not have to be perfect, but it should feel like they know they are loved — they are looking at you, not hovering above or hidden below your natural sightline.
Match the Era You Choose to the Size
If you are going with a Renaissance or classical pet portrait, lean toward larger sizes — 16x20 or bigger. Those styles carry visual weight and detail that gets lost at smaller scales. A tiny Renaissance portrait feels like a postcard, not a painting.
For softer, watercolor-style portraits or simpler compositions, smaller sizes like 11x14 or 8x10 work beautifully. The style and the size should support each other, not fight for attention.
The cheapest frame upgrade is the one that makes the portrait look like it cost twice what you paid.
Frame Quality Matters More Than You Think
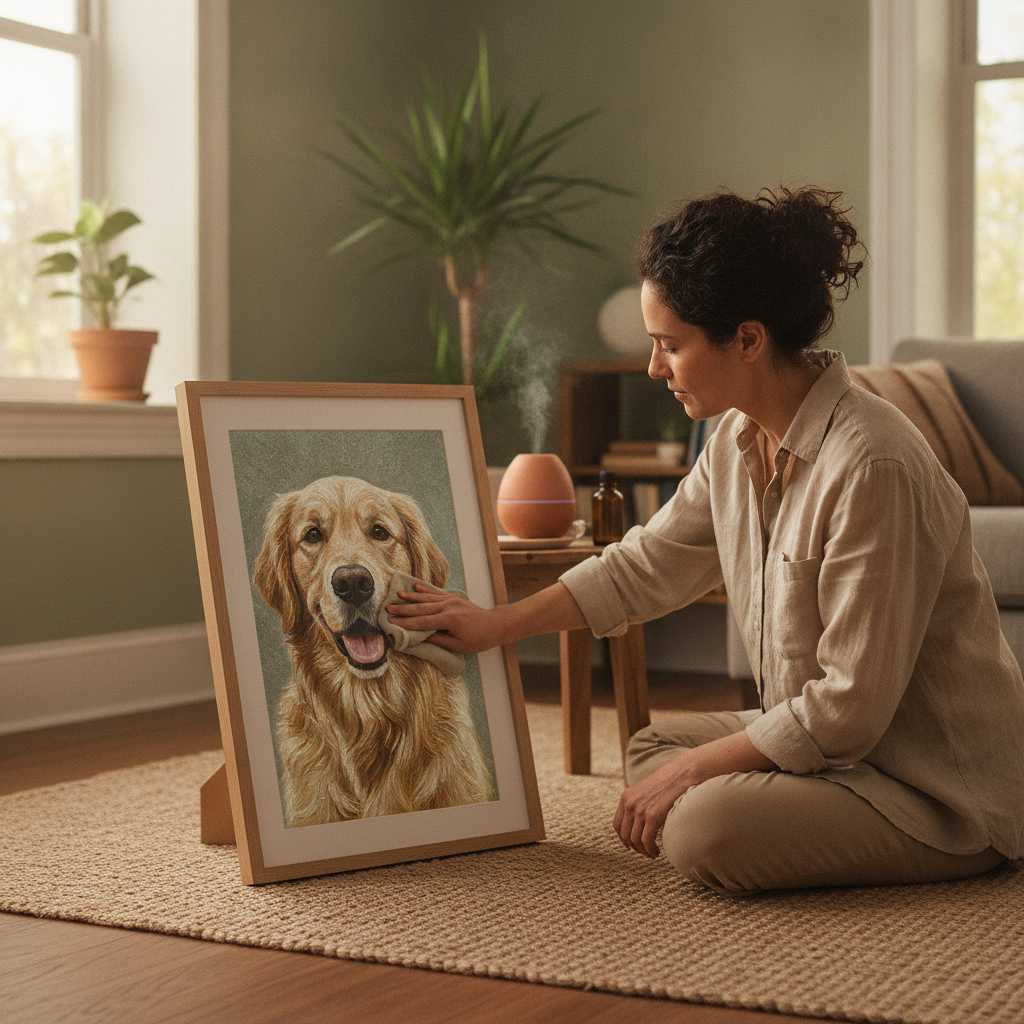
A great portrait in a flimsy frame looks like a great portrait in a flimsy frame. You do not need museum-grade materials, but the frame should feel solid and match the tone of the portrait. Ornate gold frames suit regal or Victorian styles; clean black or natural wood frames work for almost everything else.
If you are unsure, go simple. A well-made simple frame never cheapens a portrait, but a poorly made decorative frame absolutely can.
Conclusion
Here is the thing: the right pet portrait size is not about following a rule — it is about making the photo feel at home on your wall. You want something that actually looks like it belongs there, not something that crowds the couch or disappears next to the bookshelf. The photo you keep coming back to deserves a frame that gives it room to breathe.
Start with your wall, measure twice, and trust your gut on what feels balanced. A portrait worth hanging is one you can see from across the room without squinting, and one that does not fight with the furniture below it. Whether you go with an 8×10 for a gallery wall or a 24×36 statement piece above the mantel, the size you choose should make you stop and smile every time you walk past it.
If you are still deciding which style suits your pet best, check out our guide to Turn Your Pet Photo Into Art: Every Style Explained — it will help you match the era and look to the size and space you have in mind. The portrait that makes it to the wall is the one that feels like them, and now you know exactly how big to make it. For more on the process, see how long a custom painting takes or explore custom horse portraits if you are working with equine subjects.
Frequently asked questions
What pet portrait size works best for a living room?
For most living rooms, a 16x20 to 24x36 portrait works well above a sofa or fireplace. The portrait should be roughly two-thirds to three-quarters the width of the furniture below it. Larger rooms with high ceilings can handle 30x40 or bigger.
How do I know if a pet portrait size is too small?
If you can barely see the portrait from across the room, or if it looks lost on the wall next to your furniture, it is too small. A portrait should have presence without overwhelming the space — tape out the dimensions before ordering.
Can I use an 8x10 pet portrait size as a statement piece?
An 8x10 works best in smaller spaces like hallways, bathrooms, or as part of a gallery wall. For a solo statement piece in a living room or bedroom, go larger — at least 16x20 or bigger.
Should I measure the pet portrait size with or without the frame?
Measure for the final framed size. Frames add 2 to 4 inches per side, and matting adds another 2 to 3 inches. A 16x20 canvas can become 26x30 once framed and matted, so plan your wall space accordingly.
Related reading
Canvas vs Framed Print vs Metal: Which Suits a Pet Portrait?